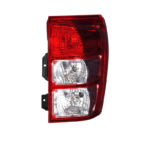
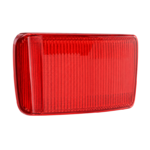
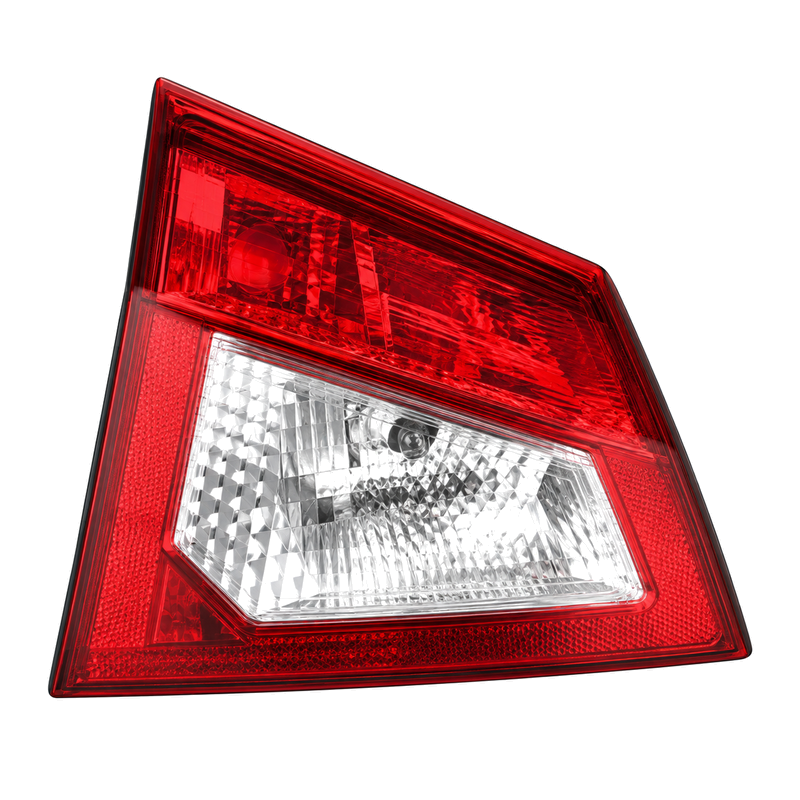
Shown here is a tail light assembly linked to SUZUKI Vitara '05-'10 / Vitara '12 / Vitara '15. Review the identifiers, fixing details and needed position as one verify.
SUZUKI Product Data
| Assembly |
Tail Light Assembly |
| OEM replacement reference |
Not confirmed in source data |
| Automobile designation |
SUZUKI Vitara '05-'10 / Vitara '12 / Vitara '15 |
| Inspection family |
Lighting |
| Design checkpoint |
mounting tabs |
| Vehicle-side checkpoint |
installed position |
| Supply format |
B2B replacement-parts enquiry |
SUZUKI Fitment Assess
Identification should rely on fastener spacing, views and vehicle data because no OEM reference is confirmed.
Market and production differences can exist within SUZUKI Vitara '05-'10 / Vitara '12 / Vitara '15, so supply vehicle identification evidence.
Item Comparison Points
Assess attachment tabs using the vehicle-side installation point. Inspect fastener spacing and the tail light assembly outer shape for market-variant checking. Use installed position to separate versions that may appear similar in a front-view image.
- attachment tabs
- fastener spacing
- installed position
Installation and Position Inspect
Place the tail light assembly loosely in position prior to engaging every fastener. Review the attachment interface and surrounding gap ahead of final tightening. Resolve any discrepancy in installed position ahead of permanent assembly.
B2B Enquiry Data
Send the car application, selected position, order volume and destination. Attach views that clearly show installation tabs and installed position. Check export packing after the intended quantity is known.
Buyer Comparison Checklist
- Verify connector access and nearby movement for SUZUKI Vitara '05-'10 / Vitara '12 / Vitara '15.
- Do not force the Tail Light Assembly configuration into a mismatched opening.
- Use fixing-point close-ups to support tail light assembly selection.
- Approve SUZUKI Vitara '05-'10 / Vitara '12 / Vitara '15 only after a physical comparison.
- Check installed position at the SUZUKI Vitara '05-'10 / Vitara '12 / Vitara '15 installation opening.
- Measure the surrounding gap after loose placement of the tail light assembly.
- Verify that attachment tabs aligns naturally before tightening fasteners.
- Keep vehicle production information with the Tail Light Assembly enquiry.
Frequently Asked Questions
Which model designation should be quoted?
The listed model association is SUZUKI Vitara '05-'10 / Vitara '12 / Vitara '15. Validate it against the vehicle and vehicle-side item.
What distinguishes the required configuration?
Compare attachment tabs, fastener spacing and installed position before selection.
What belongs in a B2B enquiry?
Supply the model association, reference when available, intended quantity, destination and comparison images.