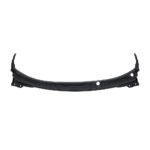
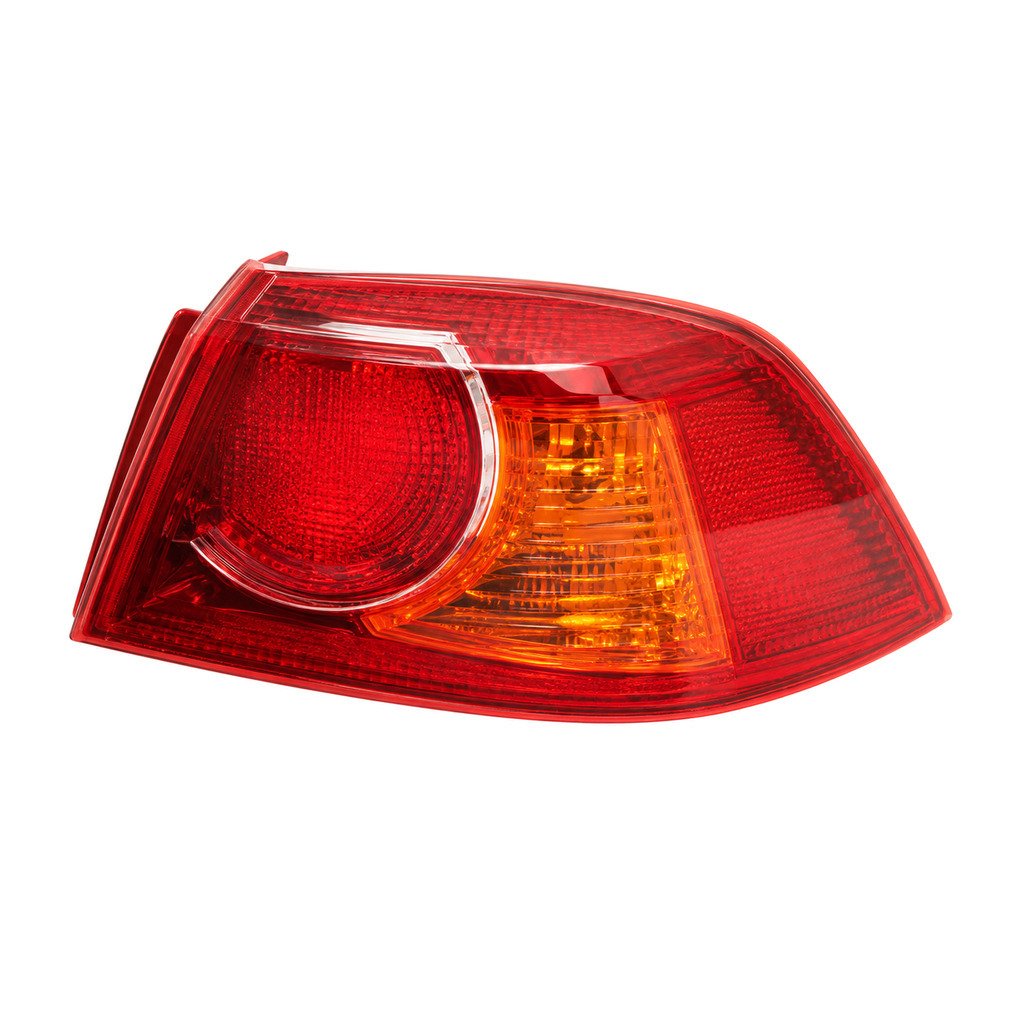
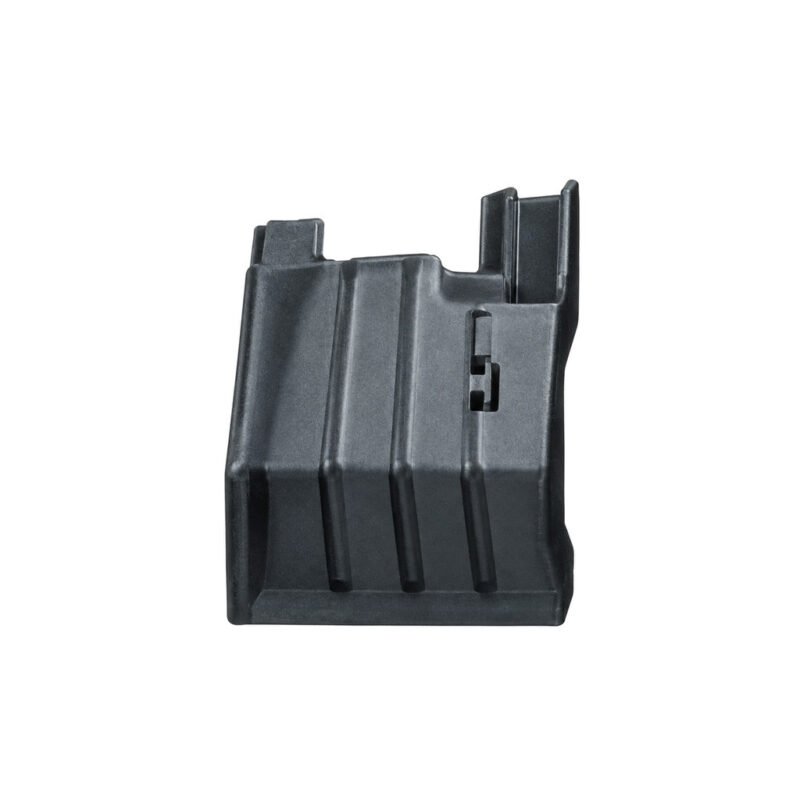
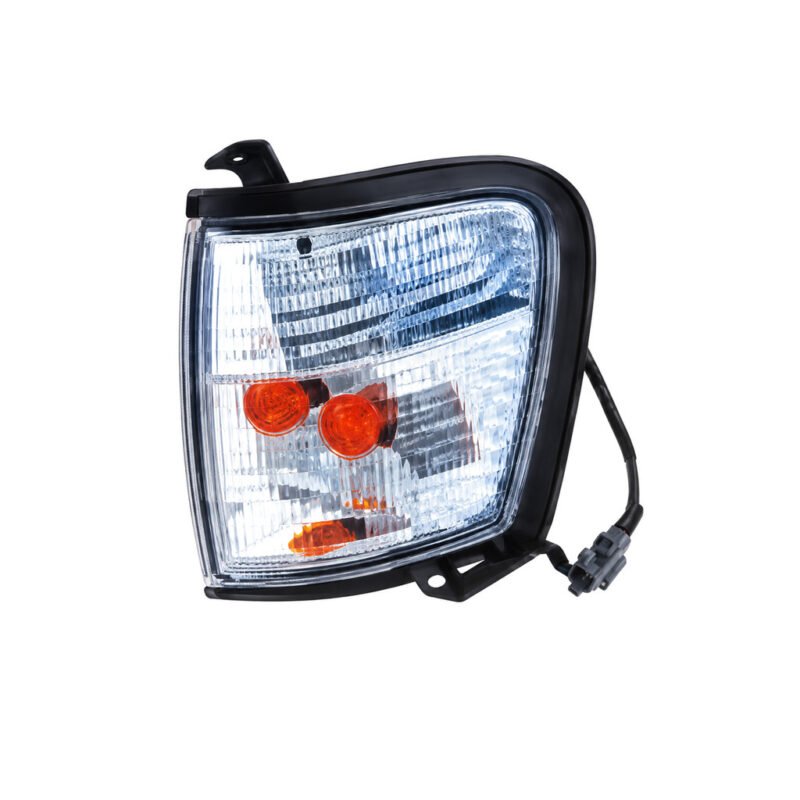
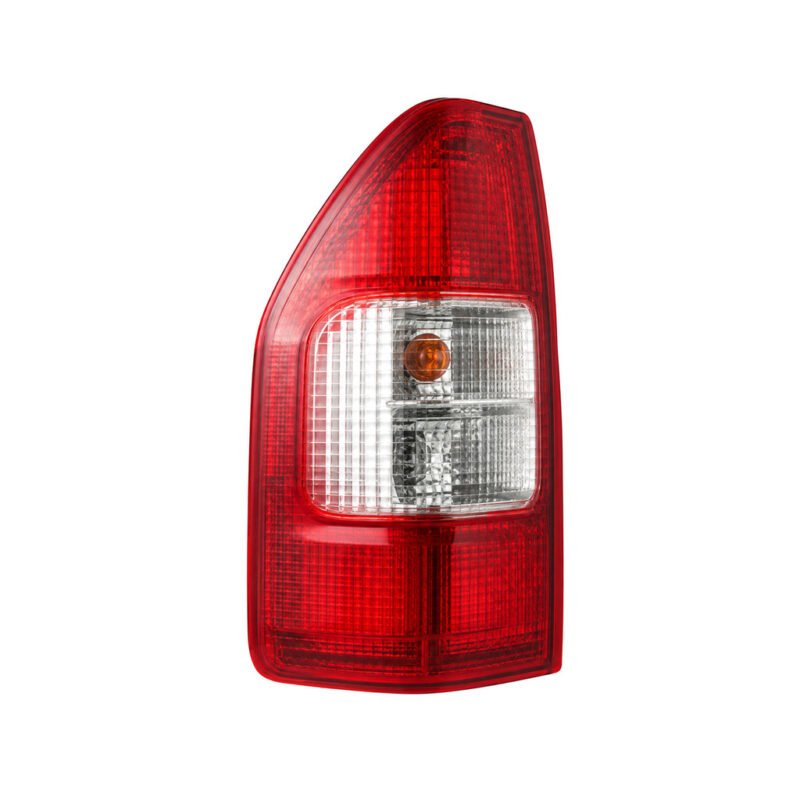
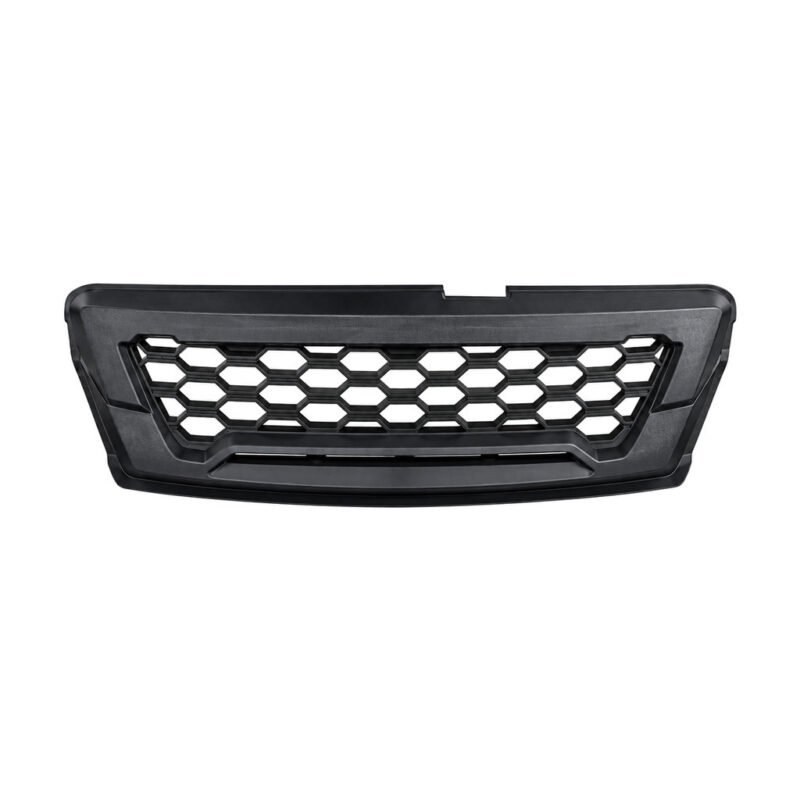
This MITSUBISHI Canter '05 / LANCER'09 entry presents a tail corner light for B2B sourcing. Verify the photographed configuration at the vehicle opening.
OE Reference Policy
The MITSUBISHI inventory sheet leaves the OE field empty. Store an empty metadata value and show Available on Request. Do not derive a number from a title, filename, model year or neighboring row.
Vehicle Identification Evidence
Attach images of attachment points and guide slots to the MITSUBISHI Canter '05 / LANCER'09 vehicle record for this tail corner light. Release the enquiry only when adjacent-panel gap agrees with the removed part.
B2B Request Details
For wholesale supply, provide vehicle data, quantity and the receiving country. Request current carton dimensions and pieces per carton.
Original-Part Check
Use close-up images for attachment points and guide slots. A wider vehicle-side view should show adjacent-panel gap and surrounding clearance.
Technical Review Points
- Confirm adjacent-panel gap at the vehicle opening.
- Compare the outside contour under matching camera angles.
- Request another image if adjacent-panel gap is not visible.
- Verify access around adjacent replacement items.
- Measure the surrounding gap after loose placement.
- Document the required installation side when applicable.
Decision Process
Begin with the source fields, continue with the physical check of attachment points, and finish with quantity and destination. Do not reverse that sequence to meet a quotation deadline.
Application Verification
Record the full MITSUBISHI Canter '05 / LANCER'09 designation. Compare the vehicle opening and the original installation area before choosing a version.
Export Packing Review
Carton size and quantity per carton are unrecorded. Obtain both before arranging transport.
Workshop Verification
Inspect clips, guides and fastener areas before trial placement. Do not continue if adjacent-panel gap remains uncertain.
Technical Evidence File
Keep the supporting material with the enquiry: a reverse-side photograph covering guide slots; the original labels retained until goods-in sign-off is complete; a vehicle-opening image that records adjacent-panel gap; an arrival photograph before protective packing is removed; the supplier's current carton and pieces-per-carton confirmation.
Product Record
The recorded replacement item is Tail Corner Light. Its source application is MITSUBISHI Canter '05 / LANCER'09. The part belongs to the Vehicle Lighting group.
Delivery Inspection
Use the arrival check to compare mounting details, visible edges and attachment points. Keep the part unmodified until accepted.
Frequently Asked Questions
How should the source OE field be used?
Keep OE metadata empty and display Available on Request because the source OE cell is blank.
What should be checked when the shipment arrives?
Compare the delivered item with approved images, inspect adjacent-panel gap and retain packaging until acceptance.
How should a trial fit be performed?
Use light locator engagement only; never force the tail corner light into a conflicting opening.