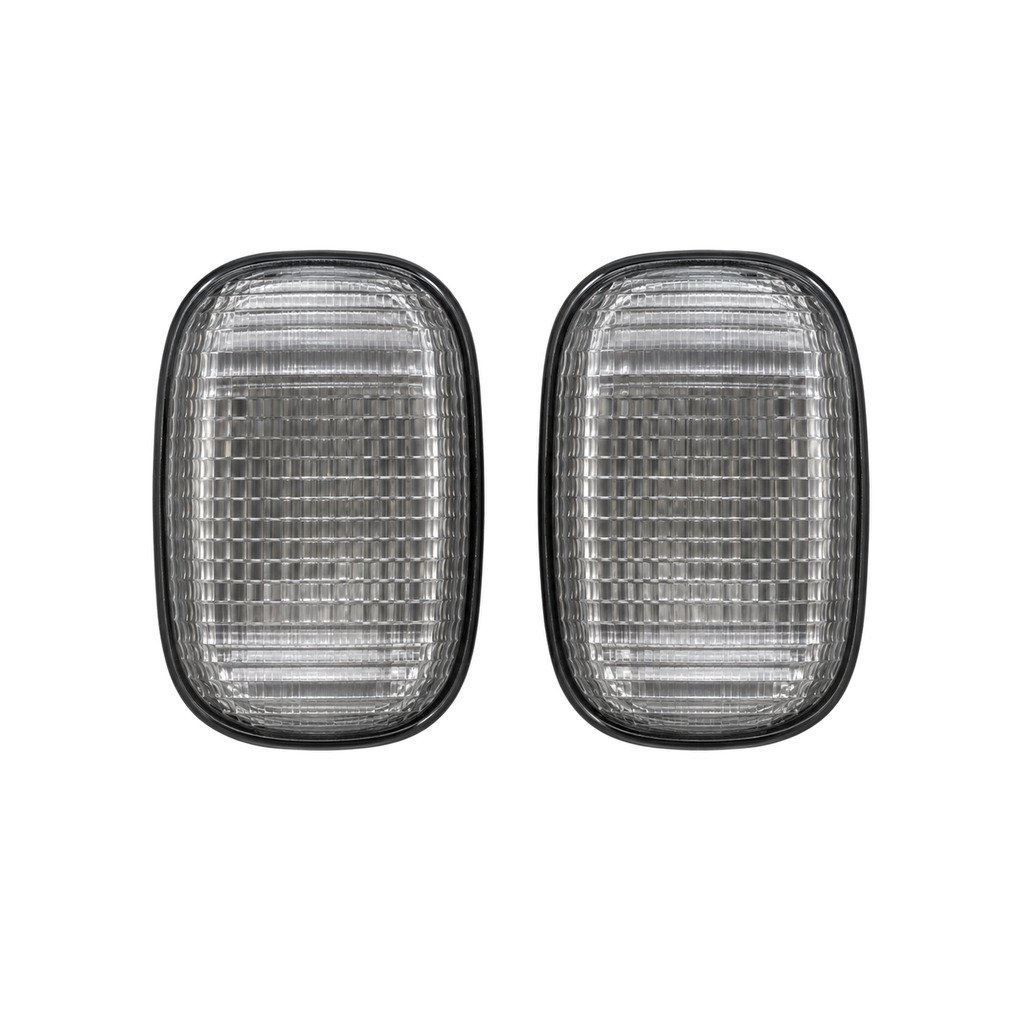
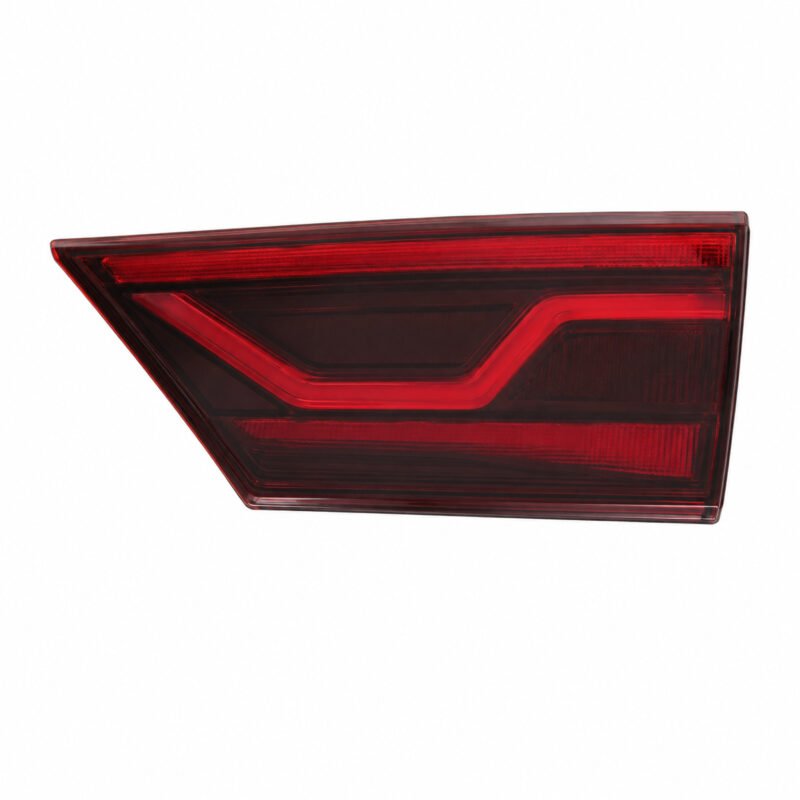
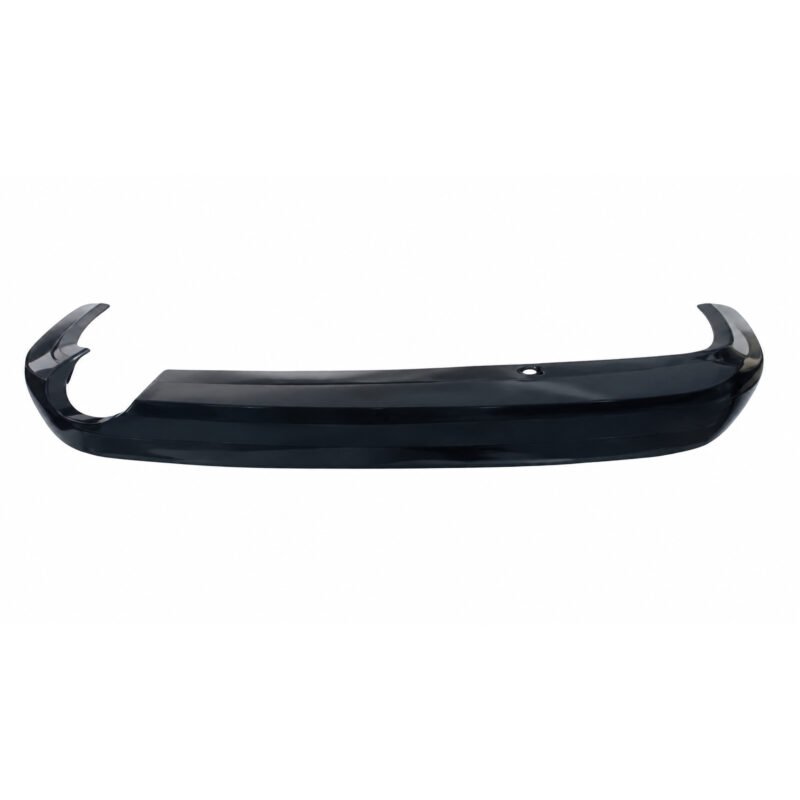
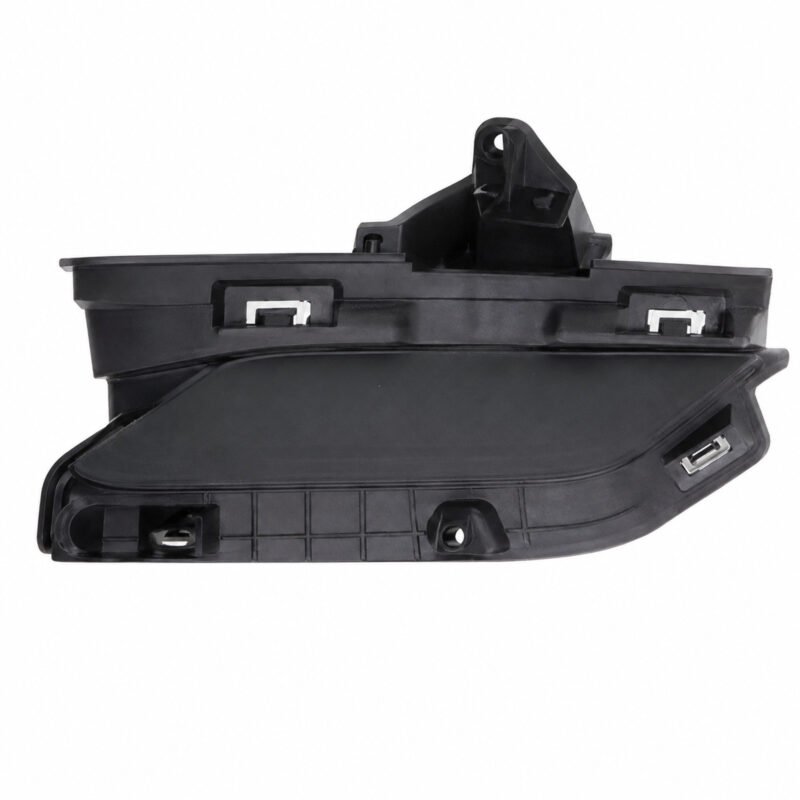
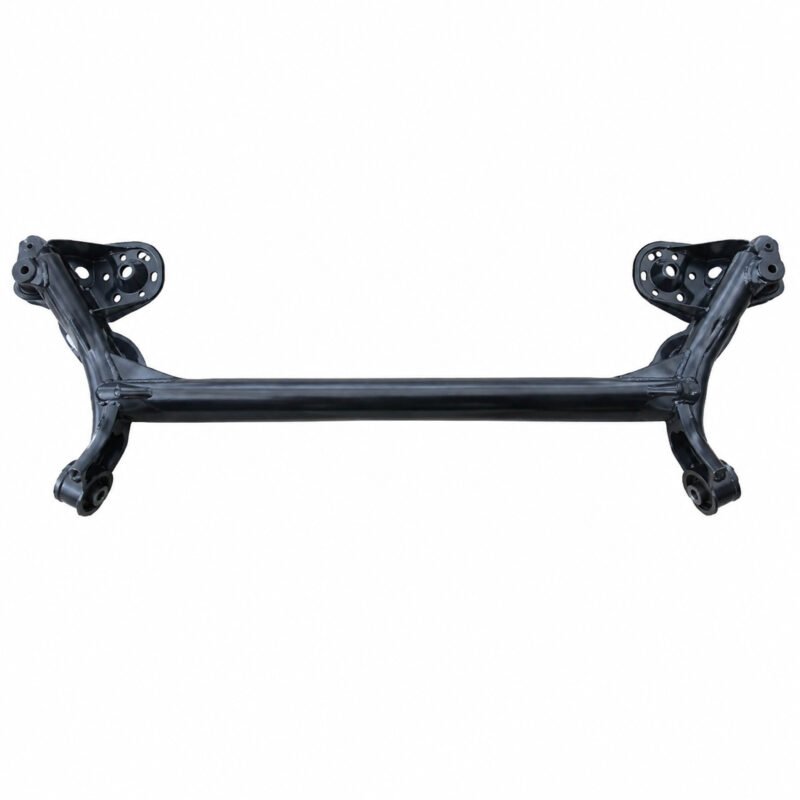
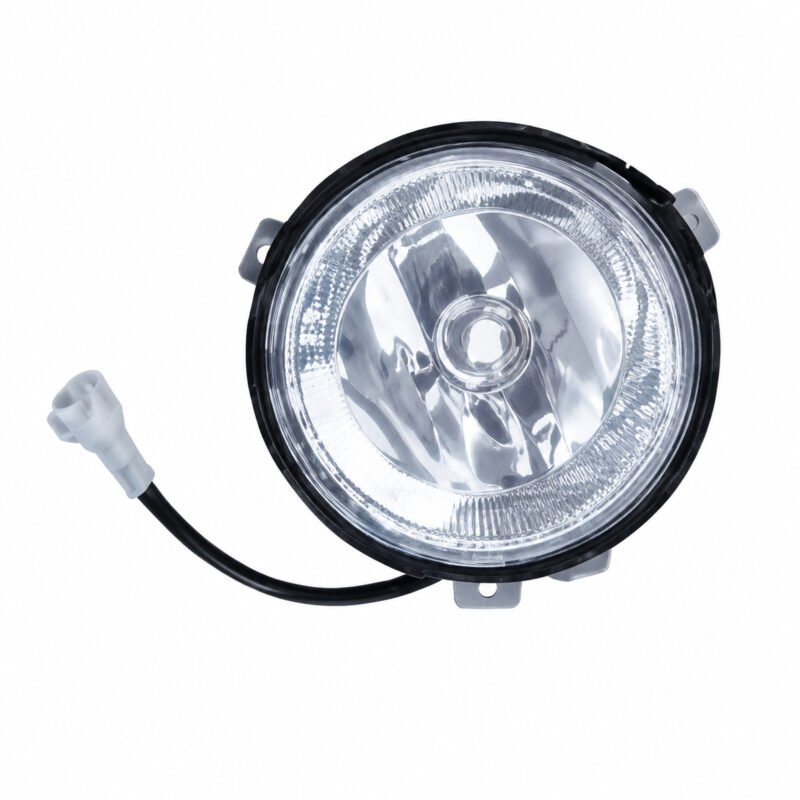
The pictured side lamp is associated with TOYOTA Vigo '11 / Vigo '16. Confirm the vehicle, part geometry and required position together.
Version Evidence
Keep the supporting material with the enquiry: a damage record if a mounting point or visible edge is affected; a close view that clearly shows lens profile; an edge-profile photograph showing nearby panel clearance; a complete image of the side lamp beside the removed component; the full TOYOTA Vigo '11 / Vigo '16 designation from the vehicle record.
Component Comparison
Use close-up images for lens profile and seal boundary. A wider vehicle-side view should show left or right orientation and surrounding clearance.
Approval Path
If lens profile, seal boundary or left or right orientation remains uncertain, request more evidence. Availability alone is not a reason to accept an unverified version.
Model Application Review
Treat TOYOTA Vigo '11 / Vigo '16 as the source application, then confirm production and market details from the actual vehicle.
Product Record
The worksheet names Side Lamp as the component and TOYOTA Vigo '11 / Vigo '16 as its application. Both fields should remain together during review.
Comparison Checklist
- Request another image if left or right orientation is not visible.
- Inspect visible edges and surface condition.
- Keep the original part until seal boundary is verified.
- Complete version approval before calculating freight.
- Check that lens profile aligns naturally before tightening.
- Check guides and clips for shipping damage.
Workshop Fit Check
Use the vehicle opening and removed part as references. Resolve every difference in left or right orientation before permanent installation.
Reference Number Review
The worksheet leaves the OE field empty. Store an empty metadata value and show Available on Request. Do not derive a number from a title, filename, model year or neighboring row.
Ordering Information
Include the intended side, vehicle market and purchase quantity in the B2B enquiry. Confirm carton size and quantity per carton before freight calculation.
Packing Reference
No carton reference accompanies this item. Confirm packing and handling requirements for the intended shipment.
Goods-In Inspection
Before shelving the item, verify the required side and inspect seal boundary. Keep protective material in place until acceptance.
Product Verification FAQ
How should a trial fit be performed?
Use light locator engagement only; never force the side lamp into a conflicting opening.
What physical details need comparison?
Review lens profile, seal boundary and left or right orientation against the removed component before approval.
How should the source OE field be used?
Keep OE metadata empty and display Available on Request because the source OE cell is blank.