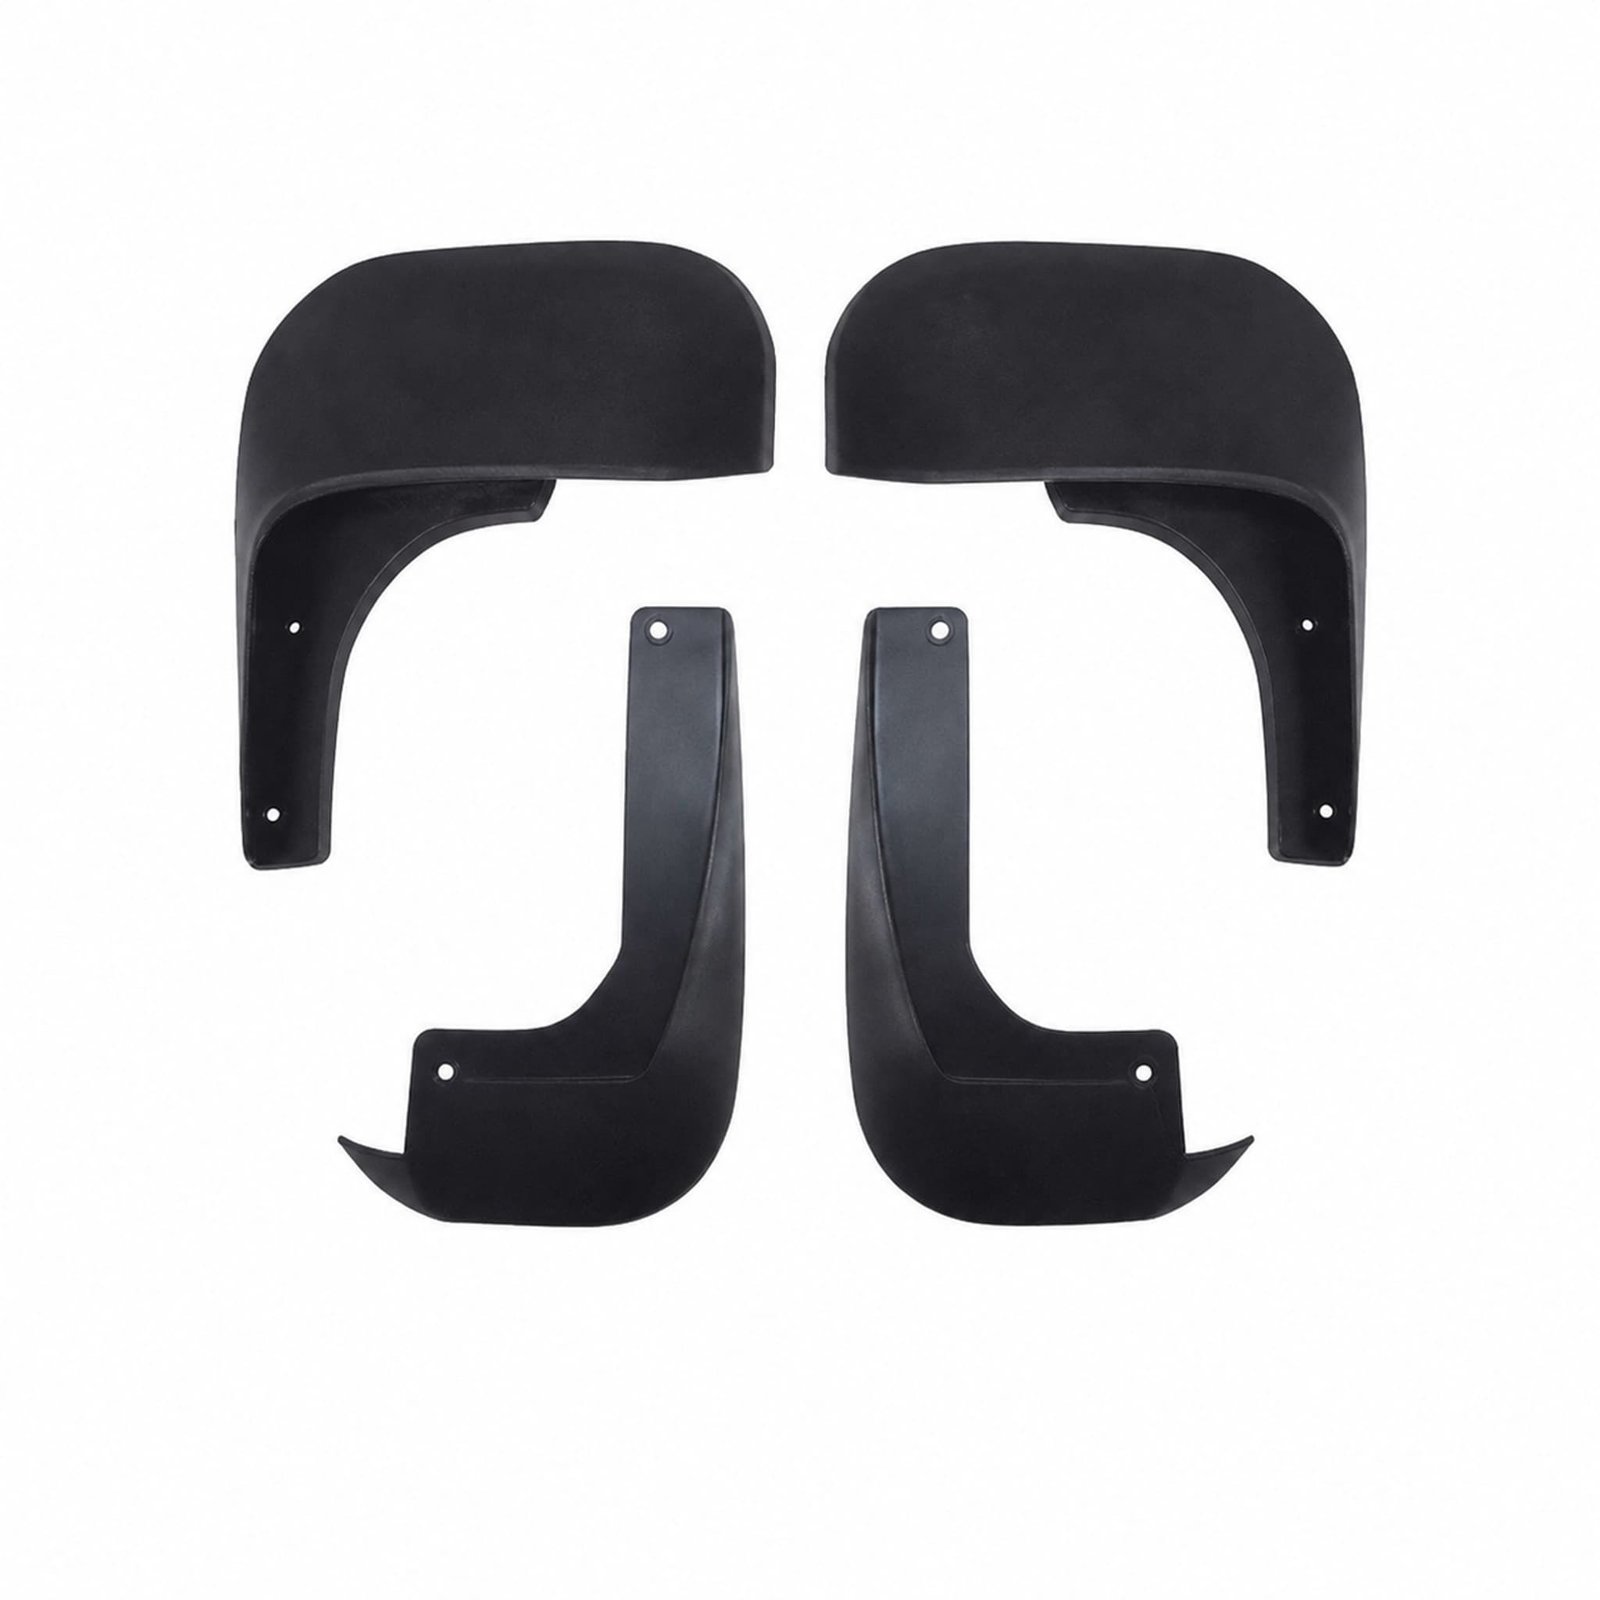
Mud Guard for Daewoo Aveo ’08: The following information supports a structured pre-order check for trade buyers. The component belongs to the body inspection group.
Product Specifications
| Product name |
Mud Guard |
| Vehicle model |
Daewoo Aveo ’08 |
| Component area |
Body |
| Primary comparison |
wheel-arch or lamp clearance |
| Secondary comparison |
left or right orientation |
| Fitment confirmation |
a collision-repair specialist should mark panel contour before the commercial request is submitted |
Pre-Order Inspection
This mud guard is associated with Daewoo Aveo ’08. The missing OEM reference is preserved deliberately so an internal code is not presented as an original number. Use the vehicle record and the removed component together; market specification or previous repairs may change the required version.
Fitment Evidence
- Wheel-arch or lamp clearance
- Opening and hole pattern
- Left or right orientation
- Panel contour
- Bolt and clip locations
A collision-repair specialist should mark wheel-arch or lamp clearance, document opening and hole pattern, and document bolt and clip locations before the commercial request is submitted. This route applies to the mud guard shown for Daewoo Aveo ’08.
If images accompany the enquiry, include an original-label photograph, a fastener detail, and a rear mounting view. Label the evidence with the vehicle designation Daewoo Aveo ’08 so the workshop and purchasing team review one configuration.
A collision-repair specialist can begin with original-label photograph to mark wheel-arch or lamp clearance. A second image should show left or right orientation from fastener detail. Before the commercial request is submitted, document bolt and clip locations and note any difference from the removed component. Keep these observations with the Daewoo Aveo ’08 vehicle record.
The installation team should photograph panel contour from a removed-part overview, then photograph bolt and clip locations before the installation begins. The parts coordinator should inspect left or right orientation from a fixing-point close-up, then capture wheel-arch or lamp clearance before the installation begins. A vehicle inspector should compare panel contour from a removed-part overview, then assess left or right orientation before the replacement is test-positioned. The repair planner should verify panel contour from a chassis-plate image, then photograph opening and hole pattern before the packing plan is prepared.
Vehicle-Side Evidence
Arrange a dry comparison before final fastening, and stop if holes or clips need force to line up. No packing entry is published here; request current carton and quantity information with the quotation.
Reference Check
Include packaging questions, requested quantity and the receiving country in the initial enquiry. Ask the supplier to review availability, packing and delivery terms against the identified component rather than a generic model description.
Fitment FAQ
Which vehicle record belongs with this product?
This mud guard appears under Daewoo Aveo ’08. Review the exact vehicle version rather than relying on the model name by itself.
What should a workshop inspect before purchase?
Compare wheel-arch or lamp clearance, left or right orientation and the required installation position with the removed component. VIN or chassis details add another useful check.
What should a distributor send for a quotation?
Include packaging questions, requested quantity and the receiving country in the initial enquiry. State the required side or installation position where that detail applies.