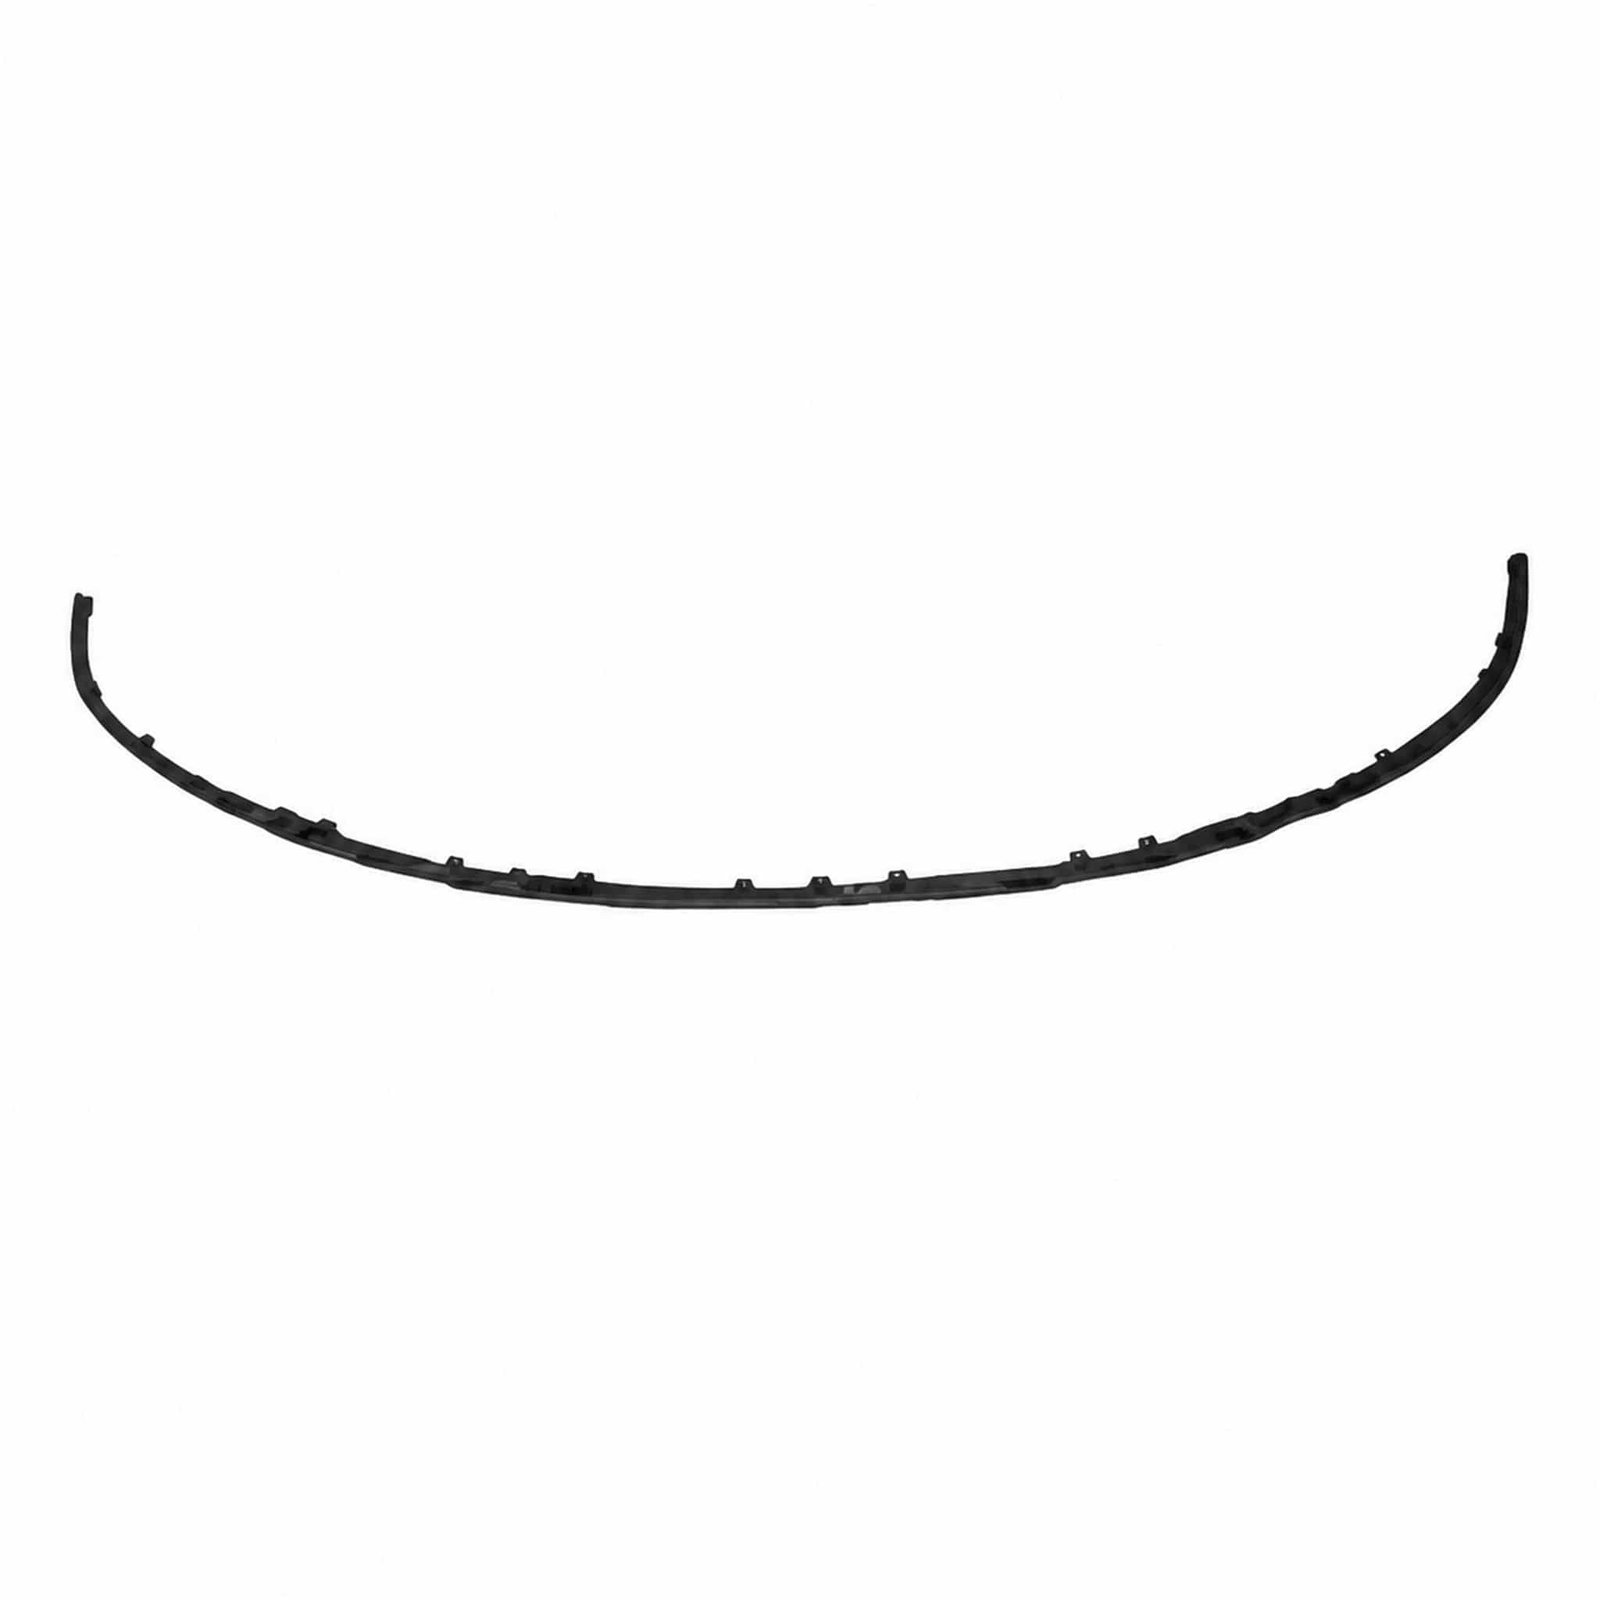
Lower Strip of Front Bumper for Hyundai Starex ’08: This page brings the main vehicle, component and comparison details into one sourcing reference. The component belongs to the bumper inspection group.
Product Specifications
| Product name |
Lower Strip of Front Bumper |
| Vehicle model |
Hyundai Starex ’08 |
| Component area |
Bumper |
| Primary comparison |
side-retainer engagement |
| Secondary comparison |
overall corner curvature |
| Packing information |
140 × 20 × 20CM / 50PCS |
| Fitment confirmation |
the procurement contact should record bracket and bolt-hole spacing before the replacement is test-positioned |
Fitment Evidence
This lower strip of front bumper is associated with Hyundai Starex ’08. Keep OEM blank on purchase documents unless a number can be read directly from the removed part. Use the vehicle record and the removed component together; market specification or previous repairs may change the required version.
Buyer Verification Notes
- Side-retainer engagement
- Upper edge alignment below the lamps
- Overall corner curvature
- Bracket and bolt-hole spacing
- Lamp or grille openings
The procurement contact should record side-retainer engagement, inspect upper edge alignment below the lamps, and evaluate lamp or grille openings before the replacement is test-positioned. This route applies to the lower strip of front bumper shown for Hyundai Starex ’08.
If images accompany the enquiry, include a side-profile photograph, a removed-part overview, and a rear mounting view. Label the evidence with the vehicle designation Hyundai Starex ’08 so the workshop and purchasing team review one configuration.
The procurement contact can begin with side-profile photograph to record side-retainer engagement. A second image should show overall corner curvature from removed-part overview. Before the replacement is test-positioned, inspect lamp or grille openings and note any difference from the removed component. Keep these observations with the Hyundai Starex ’08 vehicle record.
The installation team should inspect lamp or grille openings from a corner-profile view, then confirm overall corner curvature before the vehicle is dismantled. The service adviser should capture overall corner curvature from a fastener detail, then document upper edge alignment below the lamps before the vehicle is dismantled. A vehicle inspector should mark lamp or grille openings from a chassis-plate image, then measure bracket and bolt-hole spacing before the fitment decision is signed off. The importing distributor should review overall corner curvature from a removed-part overview, then record upper edge alignment below the lamps before the purchase order is issued.
Identification Summary
Complete any functional test appropriate to the component before closing trim or returning the vehicle. Recorded packing is 140 × 20 × 20CM / 50PCS; reconfirm current packing when freight is quoted.
Ordering Information
For a trade enquiry, include required units, delivery location and photographs of the original component. Ask the supplier to review availability, packing and delivery terms against the identified component rather than a generic model description.
Product Questions and Answers
What is the listed vehicle application?
The listing covers Hyundai Starex ’08. Because configurations may vary, check the actual installation area before approving the lower strip of front bumper.
What evidence is useful for a fitment review?
Use the old component to check side-retainer engagement and overall corner curvature. Also state the installation side or position in the enquiry.
What should be included in a B2B enquiry?
For a trade enquiry, include required units, delivery location and photographs of the original component. Include clear original-part photographs when the exact configuration needs further review.