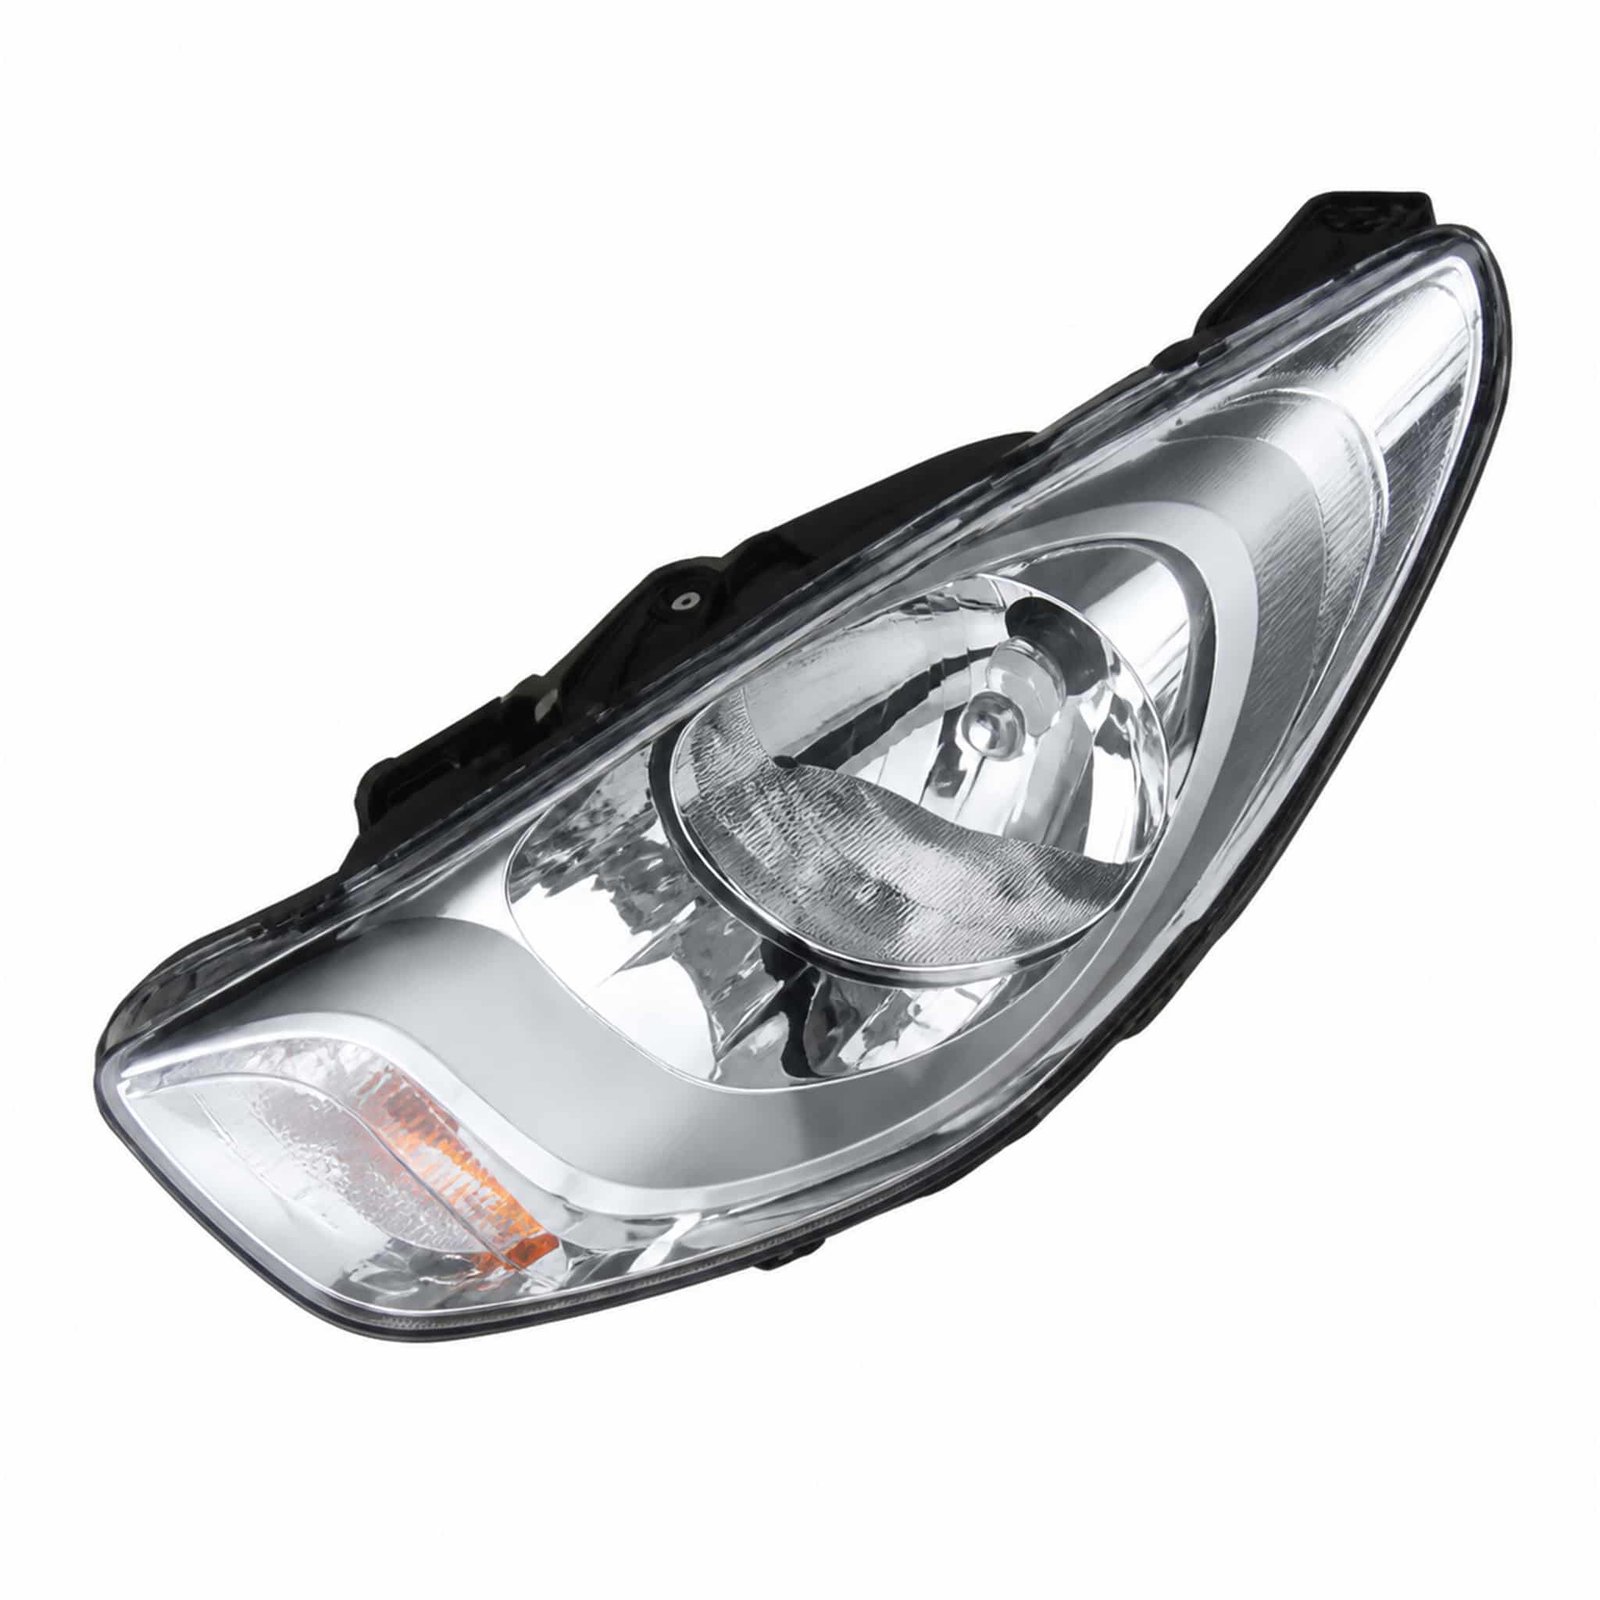
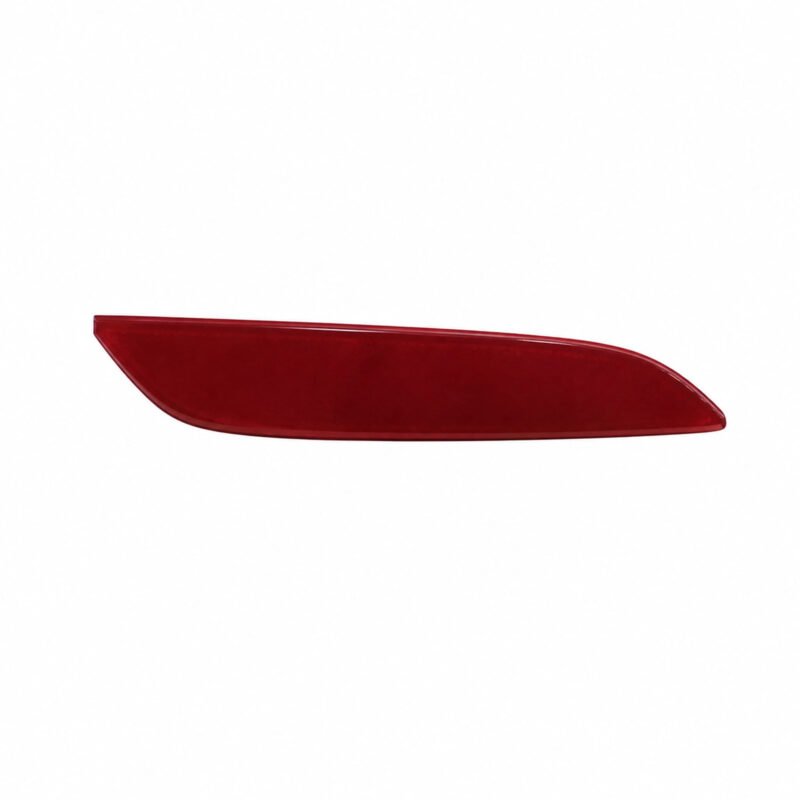
Hheeaadd Llaammpp((Eelleeccttrriicc)) for Hyundai I10 ’07 / I10 ’11: This product entry is arranged for workshops and distributors checking a replacement requirement. The component belongs to the general inspection group.
Product Specifications
| Product name |
Hheeaadd Llaammpp((Eelleeccttrriicc)) |
| Vehicle model |
Hyundai I10 ’07 / I10 ’11 |
| Component area |
General |
| Primary comparison |
installation orientation |
| Secondary comparison |
overall dimensions |
| Fitment confirmation |
a collision-repair specialist should record mounting pattern before the replacement is test-positioned |
Procurement Checklist
This hheeaadd llaammpp((eelleeccttrriicc)) is associated with Hyundai I10 ’07 / I10 ’11. Vehicle-side evidence is the primary identification route when no dependable OEM number is present. Use the vehicle record and the removed component together; market specification or previous repairs may change the required version.
Buyer Verification Notes
- Installation orientation
- Original-part markings
- Overall dimensions
- Mounting pattern
- Connector details when applicable
A collision-repair specialist should record installation orientation, review original-part markings, and compare connector details when applicable before the replacement is test-positioned. This route applies to the hheeaadd llaammpp((eelleeccttrriicc)) shown for Hyundai I10 ’07 / I10 ’11.
If images accompany the enquiry, include a vehicle-side photograph, an upper-edge image, and a fastener detail. Label the evidence with the vehicle designation Hyundai I10 ’07 / I10 ’11 so the workshop and purchasing team review one configuration.
A collision-repair specialist can begin with vehicle-side photograph to record installation orientation. A second image should show overall dimensions from upper-edge image. Before the replacement is test-positioned, review connector details when applicable and note any difference from the removed component. Keep these observations with the Hyundai I10 ’07 / I10 ’11 vehicle record.
The importing distributor should document original-part markings from a vehicle-side photograph, then record original-part markings before the carton is allocated. The stock controller should verify installation orientation from a straight-on view, then review overall dimensions before the delivery plan is confirmed. The procurement contact should measure overall dimensions from an original-label photograph, then verify connector details when applicable before the quotation is approved. A workshop estimator should record mounting pattern from a full component outline, then photograph original-part markings before the purchase order is issued.
Component Matching Record
Installation should follow the vehicle repair manual and use serviceable original-style fasteners. No packing entry is published here; request current carton and quantity information with the quotation.
Part Recognition Guide
Repair shops should attach vehicle and removed-part evidence when asking for availability and freight. Ask the supplier to review availability, packing and delivery terms against the identified component rather than a generic model description.
Common Workshop Questions
What vehicle information should be checked first?
This hheeaadd llaammpp((eelleeccttrriicc)) is listed for Hyundai I10 ’07 / I10 ’11. Use that designation as a starting point and verify the vehicle configuration before ordering.
Which details help confirm the correct version?
Review installation orientation first, then inspect overall dimensions on the vehicle. Clear photographs help the supplier assess the required version.
What information helps confirm availability?
Repair shops should attach vehicle and removed-part evidence when asking for availability and freight. The supplier can then review the product version, carton requirements and delivery options.