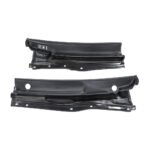
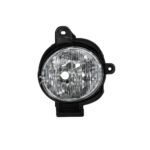
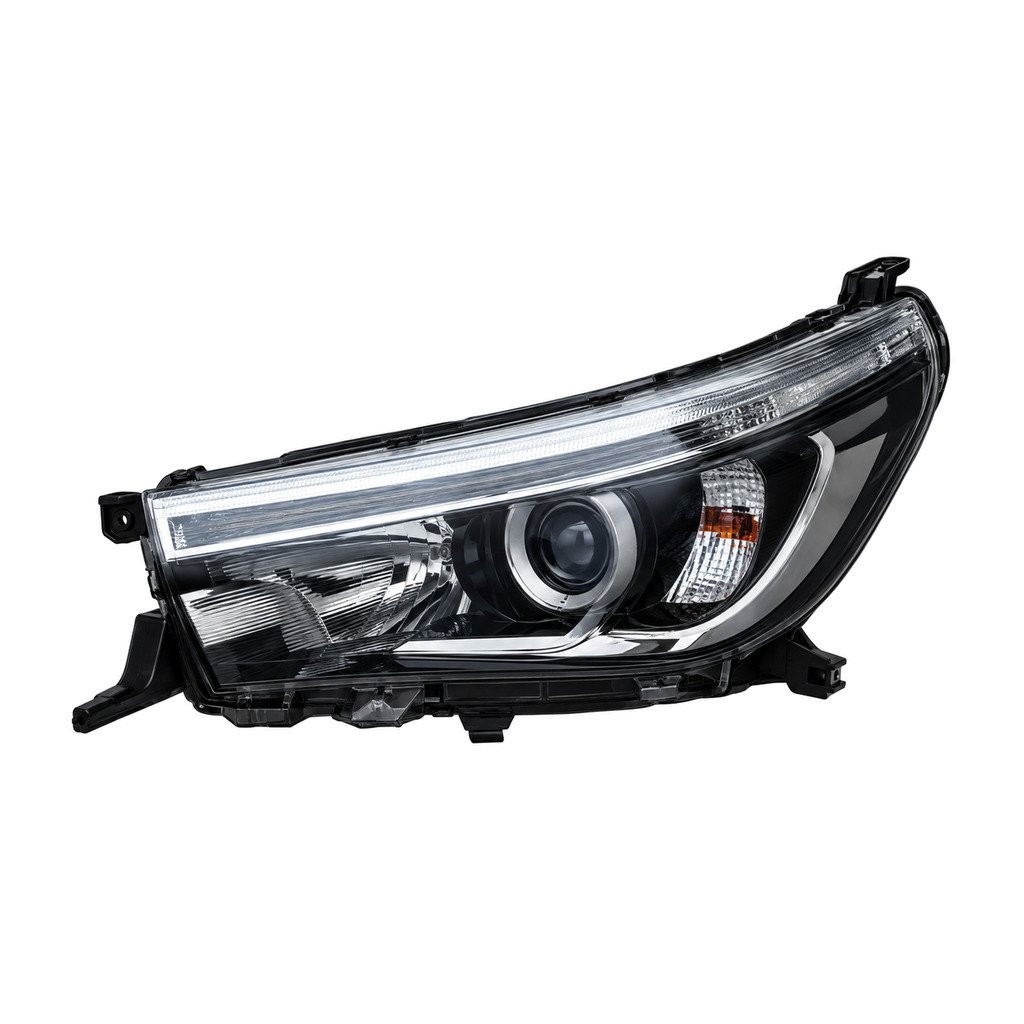
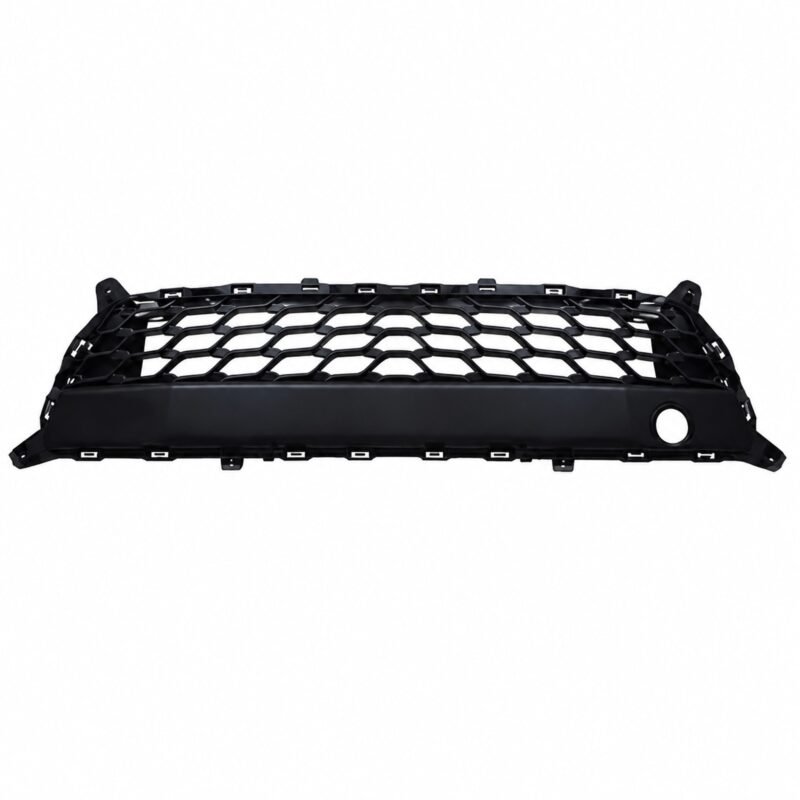
The catalog image identifies a head lamp led for TOYOTA Vigo '11 / Vigo '16. Vehicle production information and physical details should agree.
Component and Application
The component description, Head Lamp Led, is paired with TOYOTA Vigo '11 / Vigo '16 in the source row. Review them as one application record.
Purchase Enquiry Notes
List TOYOTA Vigo '11 / Vigo '16, the required location, order amount and destination in the commercial request. Request packing data for the required purchase quantity.
Buyer Checklist
- Retain the vehicle identification photograph with the order.
- Request another image if front or rear position is not visible.
- Use fixing-point close-ups to support selection.
- Keep the original part until lower supports is verified.
- Photograph lower supports so the complete interface remains visible.
- Verify access around adjacent components.
Review Sequence
A reliable selection combines written source data with front, rear and installed views. Record the result before the item moves to commercial approval.
Toyota Application Check
Start with the recorded TOYOTA Vigo '11 / Vigo '16 application. Confirm the intended front, rear, left or right location when it applies.
Technical Evidence File
Keep the supporting material with the enquiry: the final approved image set attached to the purchase request; a complete image of the head lamp led beside the removed component; a ruler reference beside any uncertain mounting distance; a written quantity and destination for the commercial reply; an edge-profile photograph showing nearby panel clearance.
Workshop Verification
Perform the first fit without sealant or irreversible changes. Compare lower supports and the outside contour before proceeding.
Delivery Inspection
If the delivered version does not agree, stop handling changes and submit images showing lower supports and front or rear position.
Component Comparison
Use close-up images for upper mounts and lower supports. A wider vehicle-side view should show front or rear position and surrounding clearance.
Packing Reference
Packing is not specified in the worksheet. Ask for an updated export-packing calculation with the quotation.
OE Number Handling
The worksheet leaves the OE field empty. Store an empty metadata value and show Available on Request. Do not derive a number from a title, filename, model year or neighboring row.
Frequently Asked Questions
Can the title supply a missing OE number?
No. A title, filename, model year or neighboring row is not authoritative OE evidence.
When should packing be confirmed?
Confirm the pictured version first, then request current carton details for the required quantity.
What should be checked when the shipment arrives?
Compare the delivered item with approved images, inspect front or rear position and retain packaging until acceptance.