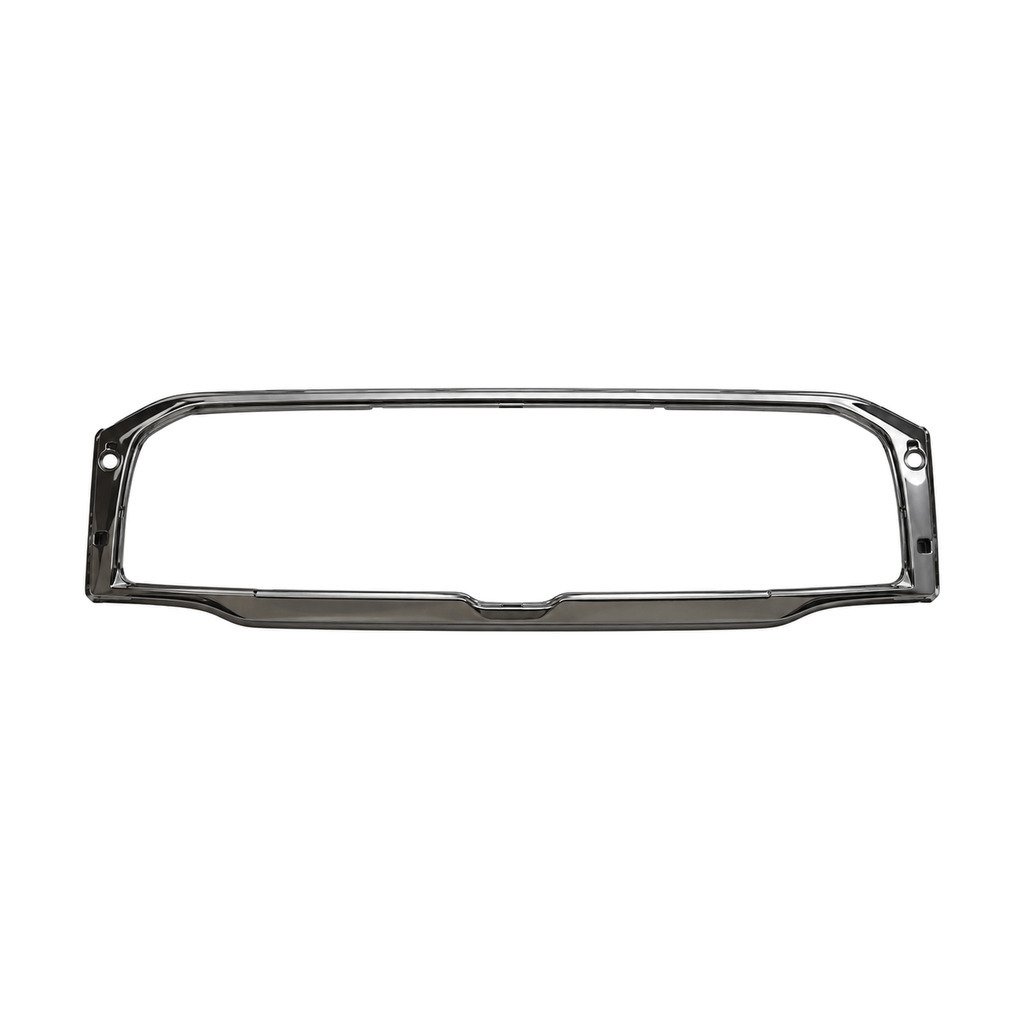
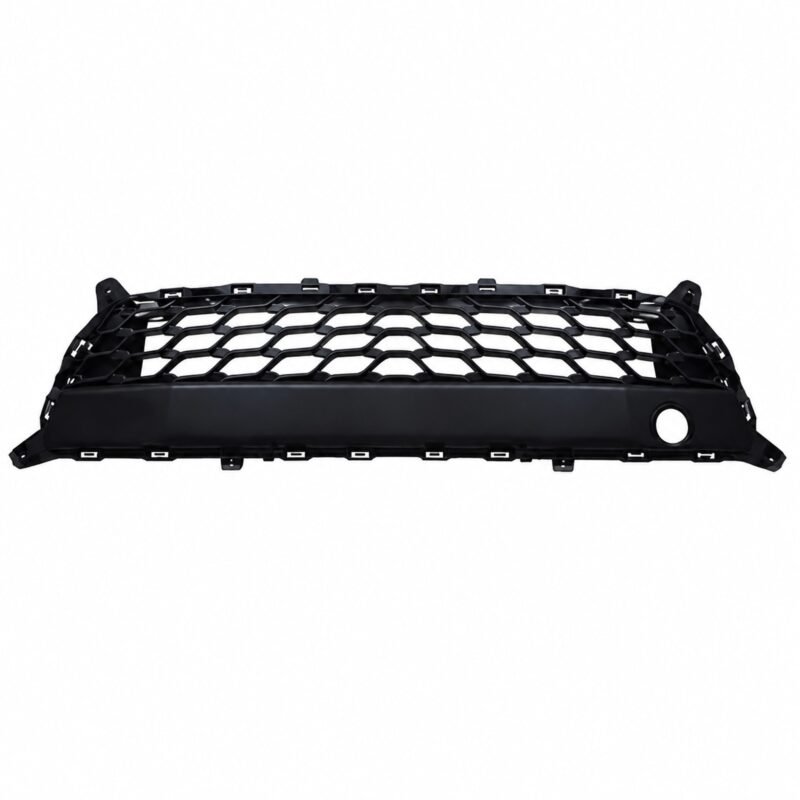
This TOYOTA Vigo '11 / Vigo '16 entry presents a grille for B2B sourcing. Verify the photographed configuration at the vehicle opening. This is a separate photographed source entry, so do not substitute it solely because another page shares similar written data.
Receiving Check
Match the receiving label to the enquiry, then inspect guide slots and the whole component under good lighting.
Packing Reference
The worksheet packing cell is empty. Current carton data must come from the supplier response.
Approval Sequence
If attachment points, guide slots or adjacent-panel gap remains uncertain, request more evidence. Availability alone is not a reason to accept an unverified version.
Product Identification
For this entry, the product type is Grille and the vehicle record is TOYOTA Vigo '11 / Vigo '16. Confirm both against the supplied photograph.
Buyer Checklist
- Photograph guide slots so the complete interface remains visible.
- Keep the OE field blank; do not invent a number.
- Inspect visible edges and surface condition.
- Compare the outside contour under matching camera angles.
- Check guides and clips for shipping damage.
- Use fixing-point close-ups to support selection.
Model Application Review
The source application is TOYOTA Vigo '11 / Vigo '16. Market-specific construction should be resolved with vehicle-side photographs.
Identification Records
Keep the supporting material with the enquiry: a vehicle-opening image that records adjacent-panel gap; a record of any connector, guide or bracket difference; the supplier's current carton and pieces-per-carton confirmation; a complete image of the grille beside the removed component; a close view that clearly shows attachment points.
Part Version Review
Use close-up images for attachment points and guide slots. A wider vehicle-side view should show adjacent-panel gap and surrounding clearance.
Ordering Information
Separate version confirmation from freight calculation. State the quantity and destination once fitment is approved. The worksheet leaves the packing field blank.
Preparation Before Installation
Present the grille to the opening without forcing clips or brackets. Engage the main locators only, then check adjacent-panel gap.
OE Reference Policy
The worksheet leaves the OE field empty. Store an empty metadata value and show Available on Request. Do not derive a number from a title, filename, model year or neighboring row.
Ordering FAQ
Which photographs help identify the version?
Provide a complete component view, its reverse side, the installed location and a close image of attachment points.
What if the vehicle evidence and image disagree?
Pause the order and request clearer technical evidence before any commercial commitment.
How should a trial fit be performed?
Use light locator engagement only; never force the grille into a conflicting opening.