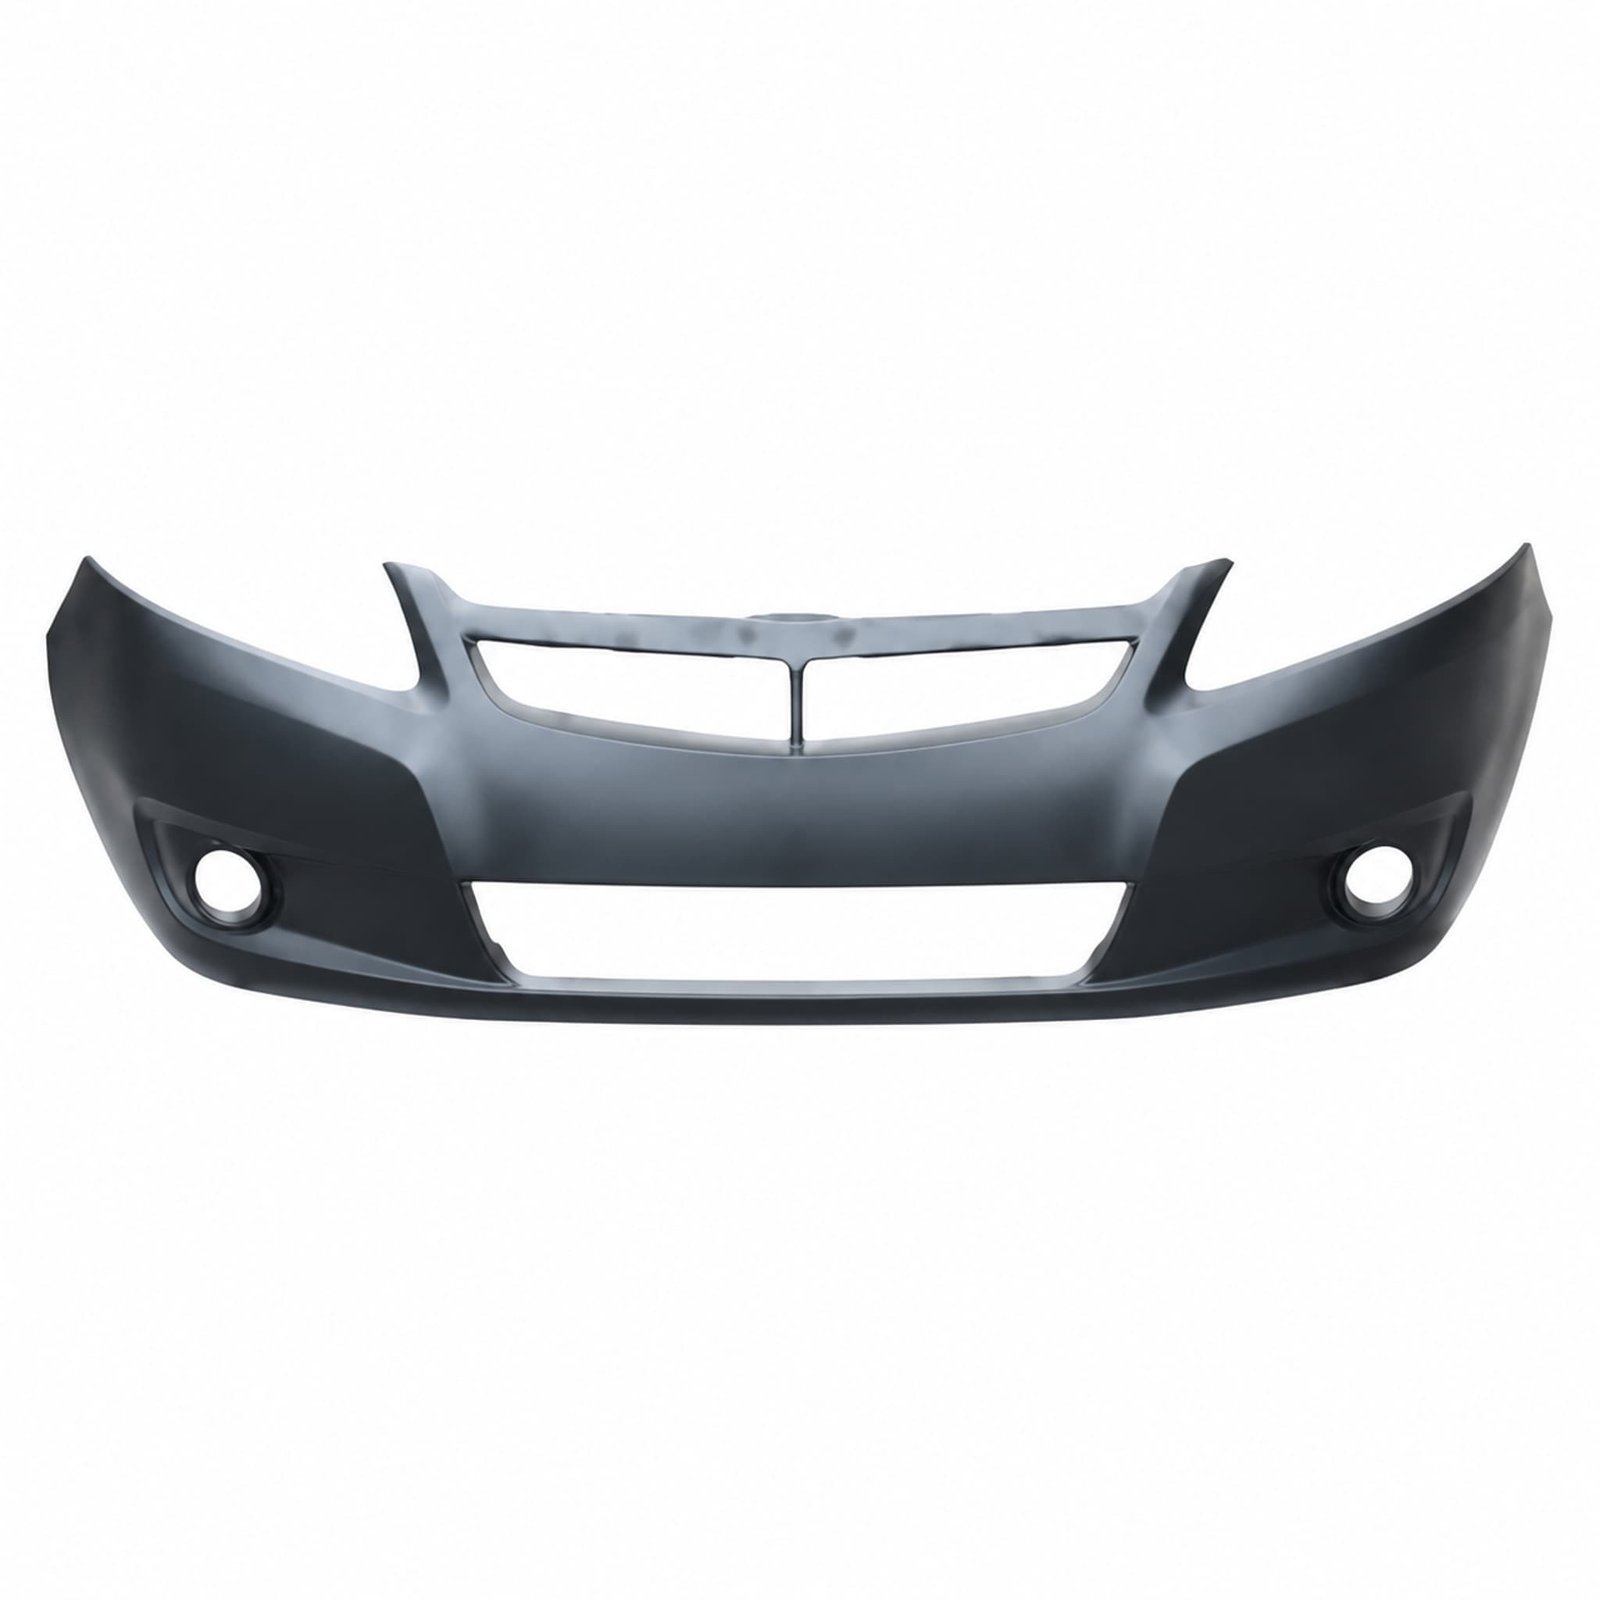
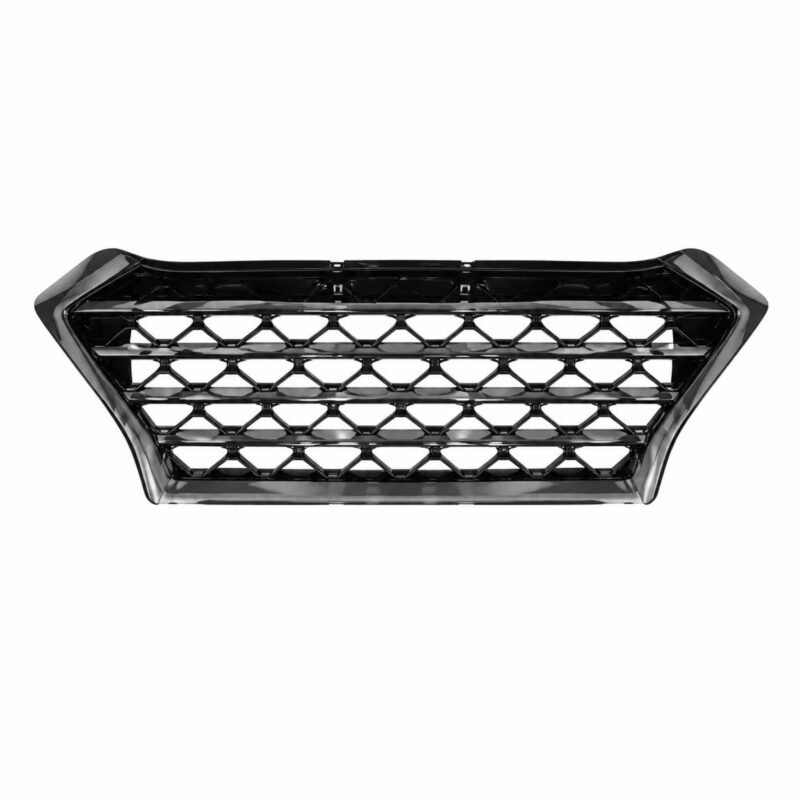
Front Bumper Version A for Daewoo Sail ‘2010 / Sail ‘2015: Use the model label as a starting point, then verify the actual mounting layout on the vehicle. The component belongs to the bumper inspection group.
Product Specifications
| Product name |
Front Bumper Version A |
| Vehicle model |
Daewoo Sail ‘2010 / Sail ‘2015 |
| Component area |
Bumper |
| Primary comparison |
upper edge alignment below the lamps |
| Secondary comparison |
bracket and bolt-hole spacing |
| Fitment confirmation |
the parts coordinator should confirm lamp or grille openings before the repair schedule is finalized |
Procurement Checklist
This front bumper version a is associated with Daewoo Sail ‘2010 / Sail ‘2015. Because no OEM reference is available, provide VIN or chassis details and an image of the removed component. Use the vehicle record and the removed component together; market specification or previous repairs may change the required version.
Component Matching Record
- Upper edge alignment below the lamps
- Overall corner curvature
- Bracket and bolt-hole spacing
- Lamp or grille openings
- Side-retainer engagement
The parts coordinator should confirm upper edge alignment below the lamps, assess overall corner curvature, and compare side-retainer engagement before the repair schedule is finalized. This route applies to the front bumper version a shown for Daewoo Sail ‘2010 / Sail ‘2015.
If images accompany the enquiry, include an installation-opening picture, a rear mounting view, and a side-profile photograph. Label the evidence with the vehicle designation Daewoo Sail ‘2010 / Sail ‘2015 so the workshop and purchasing team review one configuration.
The parts coordinator can begin with installation-opening picture to confirm upper edge alignment below the lamps. A second image should show bracket and bolt-hole spacing from rear mounting view. Before the repair schedule is finalized, assess side-retainer engagement and note any difference from the removed component. Keep these observations with the Daewoo Sail ‘2010 / Sail ‘2015 vehicle record.
The procurement contact should capture bracket and bolt-hole spacing from a corner-profile view, then photograph upper edge alignment below the lamps before the packing plan is prepared. A body-shop buyer should cross-check overall corner curvature from an adjacent-panel image, then capture side-retainer engagement before the packing plan is prepared. The procurement contact should trace bracket and bolt-hole spacing from an original-label photograph, then confirm lamp or grille openings before the shipment is booked. A workshop estimator should measure upper edge alignment below the lamps from a corner-profile view, then trace overall corner curvature before the replacement is test-positioned.
Buyer Verification Notes
Inspect clips and retainers because worn hardware can affect alignment even when the main part is correct. No packing entry is published here; request current carton and quantity information with the quotation.
Reference Check
A complete sourcing request names the quantity, delivery market and the comparison information used. Ask the supplier to review availability, packing and delivery terms against the identified component rather than a generic model description.
Ordering FAQ
Which vehicle is this component listed for?
Application information points to Daewoo Sail ‘2010 / Sail ‘2015. A workshop should still compare the removed item and mounting location before ordering.
What should be compared with the removed component?
Compare upper edge alignment below the lamps, bracket and bolt-hole spacing and the required installation position with the removed component. VIN or chassis details add another useful check.
What information helps confirm availability?
A complete sourcing request names the quantity, delivery market and the comparison information used. State the required side or installation position where that detail applies.