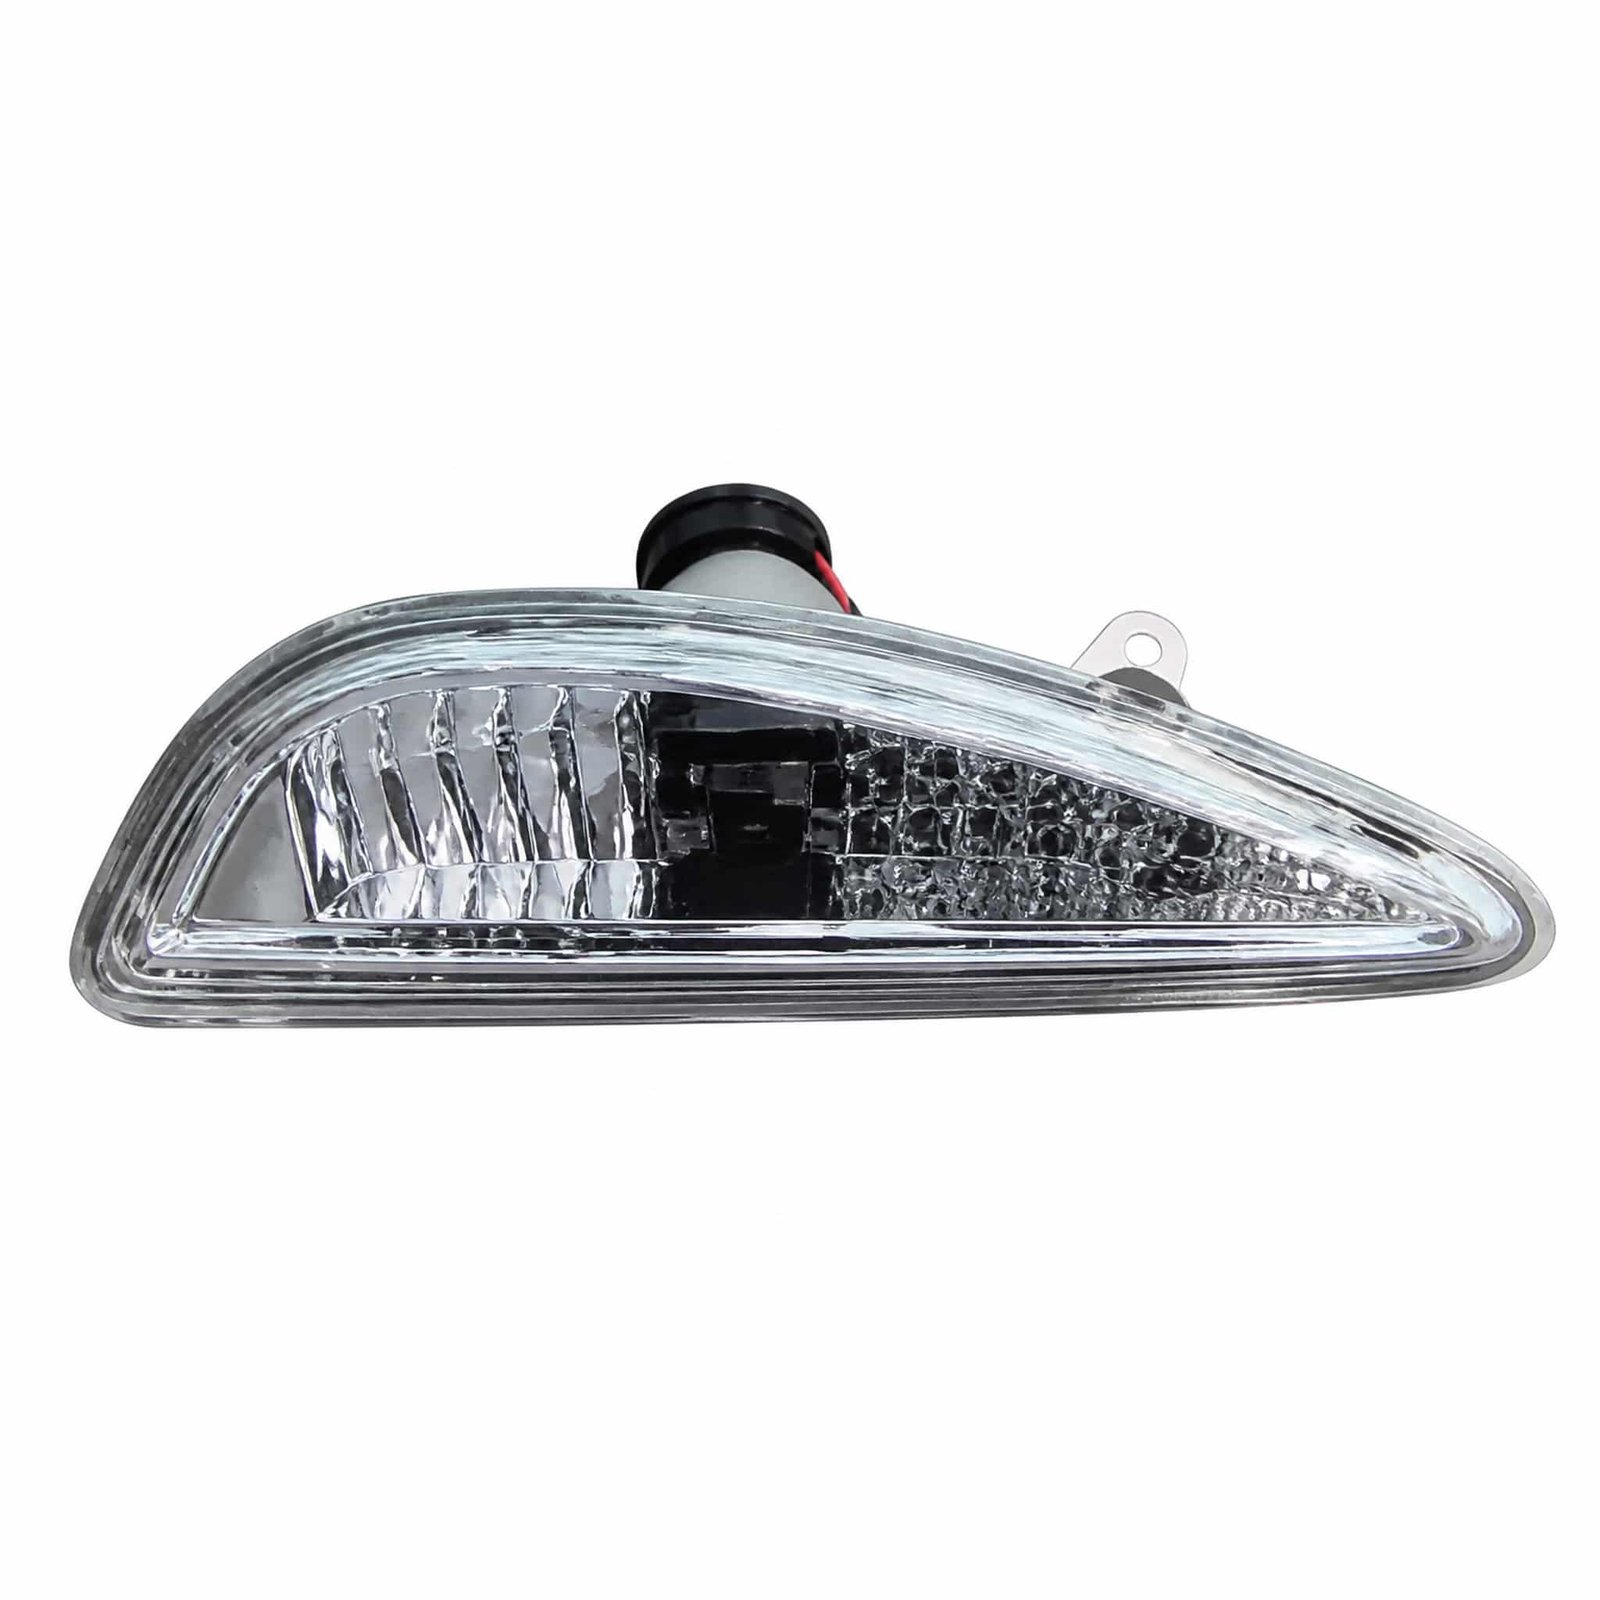
Side Marker Light for Hyundai Accent ’11: Use this listing as a practical identification record before requesting price and freight. The component belongs to the lighting inspection group.
Product Specifications
| Product name |
Side Marker Light |
| OEM replacement references |
92303-1R000 / 92304-1R000 |
| Vehicle model |
Hyundai Accent ’11 |
| Component area |
Lighting |
| Primary comparison |
electrical plug and pin layout |
| Secondary comparison |
left or right installation position |
| Fitment confirmation |
the maintenance supervisor should trace clearance beside bumper and grille before the shipment is booked |
Application Review
This side marker light is associated with Hyundai Accent ’11. Cross-check 92303-1R000 / 92304-1R000 against the removed item, paying attention to every prefix, suffix and character. Use the vehicle record and the removed component together; market specification or previous repairs may change the required version.
Purchase Preparation
- Electrical plug and pin layout
- Mounting tabs around the housing
- Left or right installation position
- Clearance beside bumper and grille
- Lens profile and outer edge
The maintenance supervisor should trace electrical plug and pin layout, measure mounting tabs around the housing, and evaluate lens profile and outer edge before the shipment is booked. This route applies to the side marker light shown for Hyundai Accent ’11.
If images accompany the enquiry, include an original-label photograph, a lower-retainer view, and a removed-part overview. Label the evidence with the product reference shown in the specification table so the workshop and purchasing team review one configuration.
The maintenance supervisor can begin with original-label photograph to trace electrical plug and pin layout. A second image should show left or right installation position from lower-retainer view. Before the shipment is booked, measure lens profile and outer edge and note any difference from the removed component. Keep these observations with the Hyundai Accent ’11 vehicle record.
The stock controller should document electrical plug and pin layout from a straight-on view, then capture electrical plug and pin layout before the packing plan is prepared. The receiving technician should mark left or right installation position from an adjacent-panel image, then capture left or right installation position before the vehicle is dismantled. The receiving technician should verify mounting tabs around the housing from a vehicle-side photograph, then trace clearance beside bumper and grille before the fitment decision is signed off. The parts coordinator should record mounting tabs around the housing from an adjacent-panel image, then document electrical plug and pin layout before the quotation is approved.
Procurement Checklist
Transfer reusable hardware only after checking that every retainer matches the replacement openings. No packing entry is published here; request current carton and quantity information with the quotation.
Vehicle-Side Evidence
A complete sourcing request names the quantity, delivery market and the comparison information used. Ask the supplier to review availability, packing and delivery terms against the identified component rather than a generic model description.
Fitment FAQ
Which vehicle record belongs with this product?
Application information points to Hyundai Accent ’11. A workshop should still compare the removed item and mounting location before ordering.
Which details help confirm the correct version?
Compare electrical plug and pin layout, left or right installation position and the required installation position with the removed component. VIN or chassis details add another useful check.
What should a distributor send for a quotation?
A complete sourcing request names the quantity, delivery market and the comparison information used. State the required side or installation position where that detail applies.