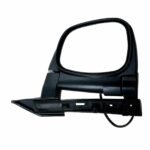
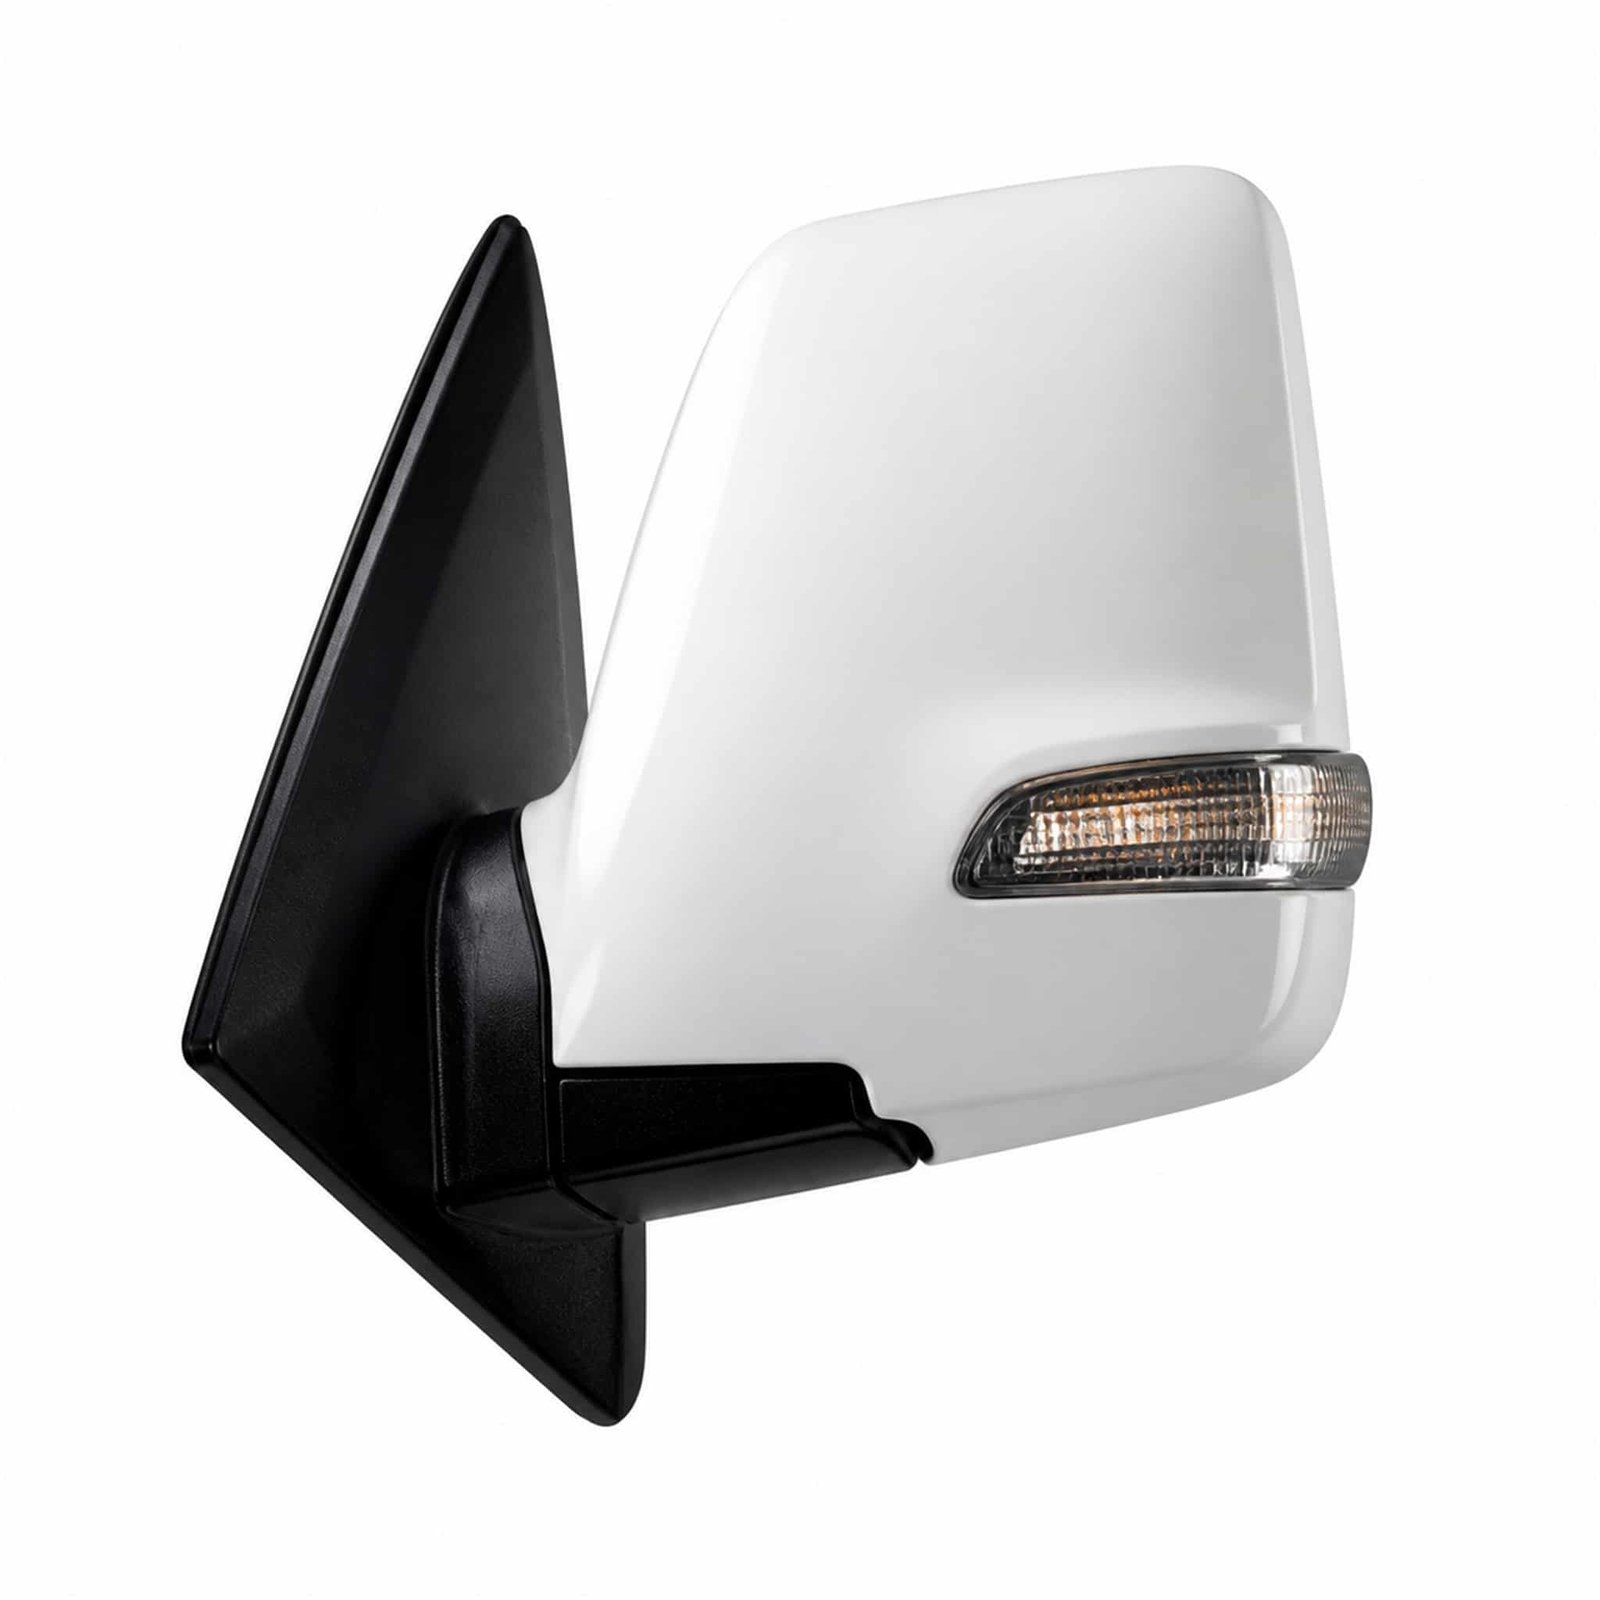
Door Mirror for Hyundai H100 / Porter’13 / Starles / Starex: This product entry is arranged for workshops and distributors checking a replacement requirement. The component belongs to the mirror inspection group.
Product Specifications
| Product name |
Door Mirror |
| OEM replacement references |
87610-4F610 / 87620-4F610 |
| Vehicle model |
Hyundai H100 / Porter’13 / Starles / Starex |
| Component area |
Mirror |
| Primary comparison |
mounting stud pattern |
| Secondary comparison |
connector shape and pin count |
| Fitment confirmation |
the maintenance supervisor should verify left or right door position before the replacement is test-positioned |
Technical Comparison Notes
This door mirror is associated with Hyundai H100 / Porter’13 / Starles / Starex. The references 87610-4F610 / 87620-4F610 support identification but do not replace a physical comparison. Use the vehicle record and the removed component together; market specification or previous repairs may change the required version.
Supply Enquiry Details
- Mounting stud pattern
- Manual or electric adjustment type
- Connector shape and pin count
- Left or right door position
- Door-base footprint
The maintenance supervisor should verify mounting stud pattern, cross-check manual or electric adjustment type, and capture door-base footprint before the replacement is test-positioned. This route applies to the door mirror shown for Hyundai H100 / Porter’13 / Starles / Starex.
If images accompany the enquiry, include a chassis-plate image, a fastener detail, and an adjacent-panel image. Label the evidence with the product reference shown in the specification table so the workshop and purchasing team review one configuration.
The maintenance supervisor can begin with chassis-plate image to verify mounting stud pattern. A second image should show connector shape and pin count from fastener detail. Before the replacement is test-positioned, cross-check door-base footprint and note any difference from the removed component. Keep these observations with the Hyundai H100 / Porter’13 / Starles / Starex vehicle record.
The service adviser should evaluate connector shape and pin count from an adjacent-panel image, then verify manual or electric adjustment type before the quotation is approved. A collision-repair specialist should confirm mounting stud pattern from an original-label photograph, then measure connector shape and pin count before the carton is allocated. The importing distributor should document connector shape and pin count from a corner-profile view, then measure manual or electric adjustment type before the shipment is booked. The importing distributor should verify left or right door position from a connector close-up, then note door-base footprint before the fitment decision is signed off.
Replacement Selection Guide
Do not enlarge holes, bend brackets or force electrical plugs to compensate for a mismatch. No packing entry is published here; request current carton and quantity information with the quotation.
Reference Check
Repair shops should attach vehicle and removed-part evidence when asking for availability and freight. Ask the supplier to review availability, packing and delivery terms against the identified component rather than a generic model description.
Product Questions and Answers
Which Hyundai model does this page cover?
This door mirror appears under Hyundai H100 / Porter’13 / Starles / Starex. Review the exact vehicle version rather than relying on the model name by itself.
What should a workshop inspect before purchase?
Check mounting stud pattern, confirm connector shape and pin count, and retain the removed part until the replacement has been compared side by side.
What information helps confirm availability?
Repair shops should attach vehicle and removed-part evidence when asking for availability and freight. Keep each requested product on a separate line when several parts share one shipment.