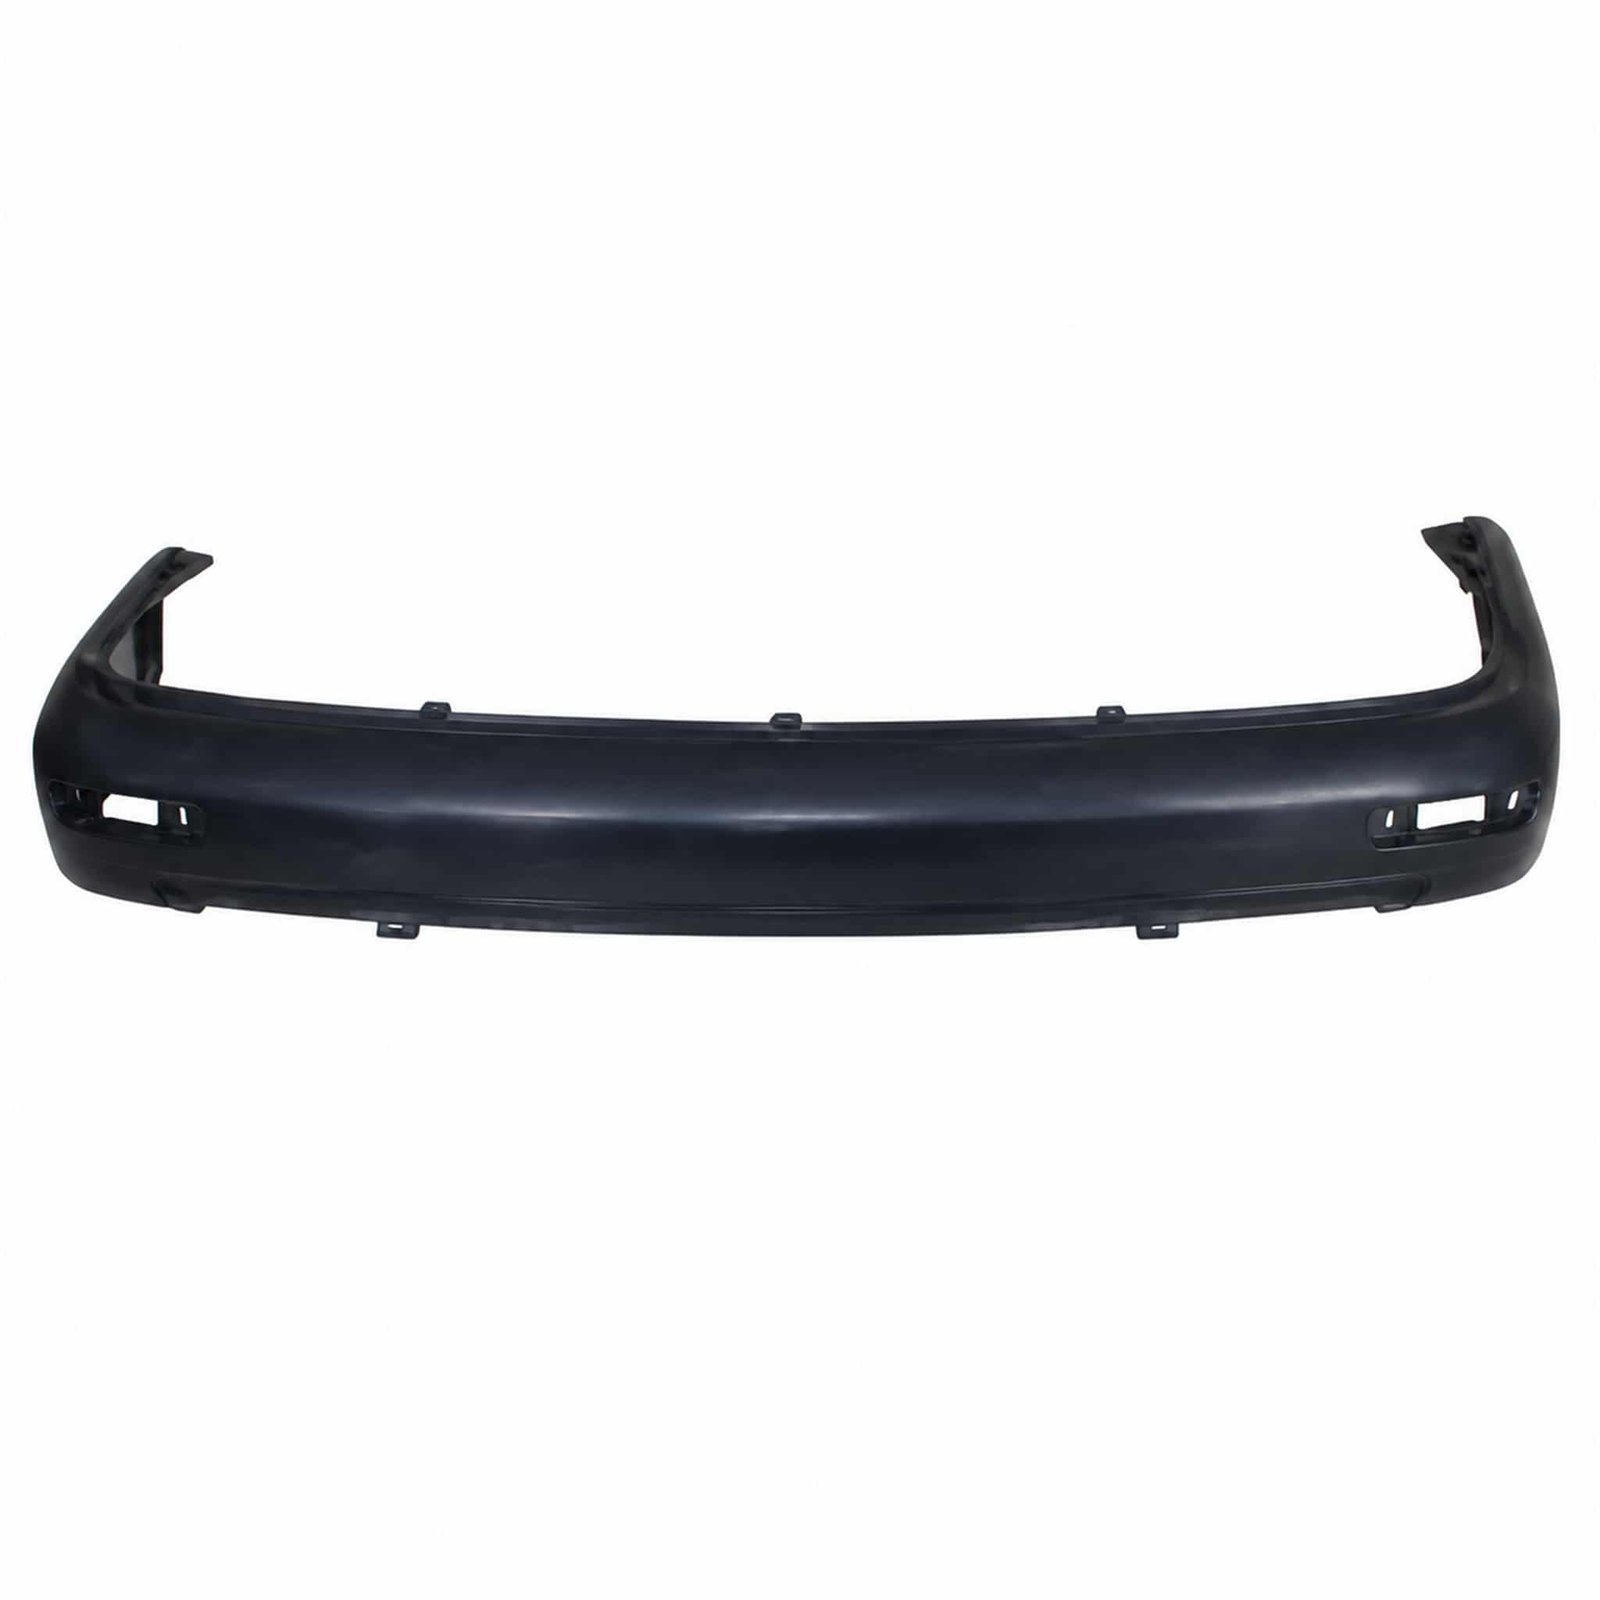
Rear Bumper for Hyundai Starex ’18 / H1 / Tucson: Parts selection should begin with the removed component and the exact vehicle record. The component belongs to the bumper inspection group.
Product Specifications
| Product name |
Rear Bumper |
| OEM replacement references |
86611-4H030 / 86650-4H060 |
| Vehicle model |
Hyundai Starex ’18 / H1 / Tucson |
| Component area |
Bumper |
| Primary comparison |
lamp or grille openings |
| Secondary comparison |
upper edge alignment below the lamps |
| Fitment confirmation |
the repair planner should document overall corner curvature before the installation begins |
Procurement Checklist
This rear bumper is associated with Hyundai Starex ’18 / H1 / Tucson. Treat 86611-4H030 / 86650-4H060 as an identification route, then validate the component at the actual mounting area. Use the vehicle record and the removed component together; market specification or previous repairs may change the required version.
Ordering Information
- Lamp or grille openings
- Side-retainer engagement
- Upper edge alignment below the lamps
- Overall corner curvature
- Bracket and bolt-hole spacing
The repair planner should document lamp or grille openings, document side-retainer engagement, and inspect bracket and bolt-hole spacing before the installation begins. This route applies to the rear bumper shown for Hyundai Starex ’18 / H1 / Tucson.
If images accompany the enquiry, include an upper-edge image, a fixing-point close-up, and a chassis-plate image. Label the evidence with the product reference shown in the specification table so the workshop and purchasing team review one configuration.
The repair planner can begin with upper-edge image to document lamp or grille openings. A second image should show upper edge alignment below the lamps from fixing-point close-up. Before the installation begins, document bracket and bolt-hole spacing and note any difference from the removed component. Keep these observations with the Hyundai Starex ’18 / H1 / Tucson vehicle record.
The receiving technician should review side-retainer engagement from an original-label photograph, then confirm overall corner curvature before the fitment decision is signed off. A collision-repair specialist should measure side-retainer engagement from a connector close-up, then verify bracket and bolt-hole spacing before the carton is allocated. The repair planner should cross-check upper edge alignment below the lamps from a straight-on view, then cross-check bracket and bolt-hole spacing before the carton is allocated. The importing distributor should mark bracket and bolt-hole spacing from a fastener detail, then verify overall corner curvature before the shipment is booked.
Part Recognition Guide
If the component contacts adjacent panels, pause the work and repeat the fitment comparison. No packing entry is published here; request current carton and quantity information with the quotation.
Repair Planning Notes
Repair shops should attach vehicle and removed-part evidence when asking for availability and freight. Ask the supplier to review availability, packing and delivery terms against the identified component rather than a generic model description.
Purchase Questions
What model is associated with this replacement part?
The stated vehicle is Hyundai Starex ’18 / H1 / Tucson. Treat that model label as one part of the fitment check, together with photographs and chassis details.
How can an incorrect order be avoided?
Fitment evidence should show lamp or grille openings, upper edge alignment below the lamps and the position where the component will be installed.
What information is needed for a quotation?
Repair shops should attach vehicle and removed-part evidence when asking for availability and freight. This information helps separate technical confirmation from the later shipping calculation.