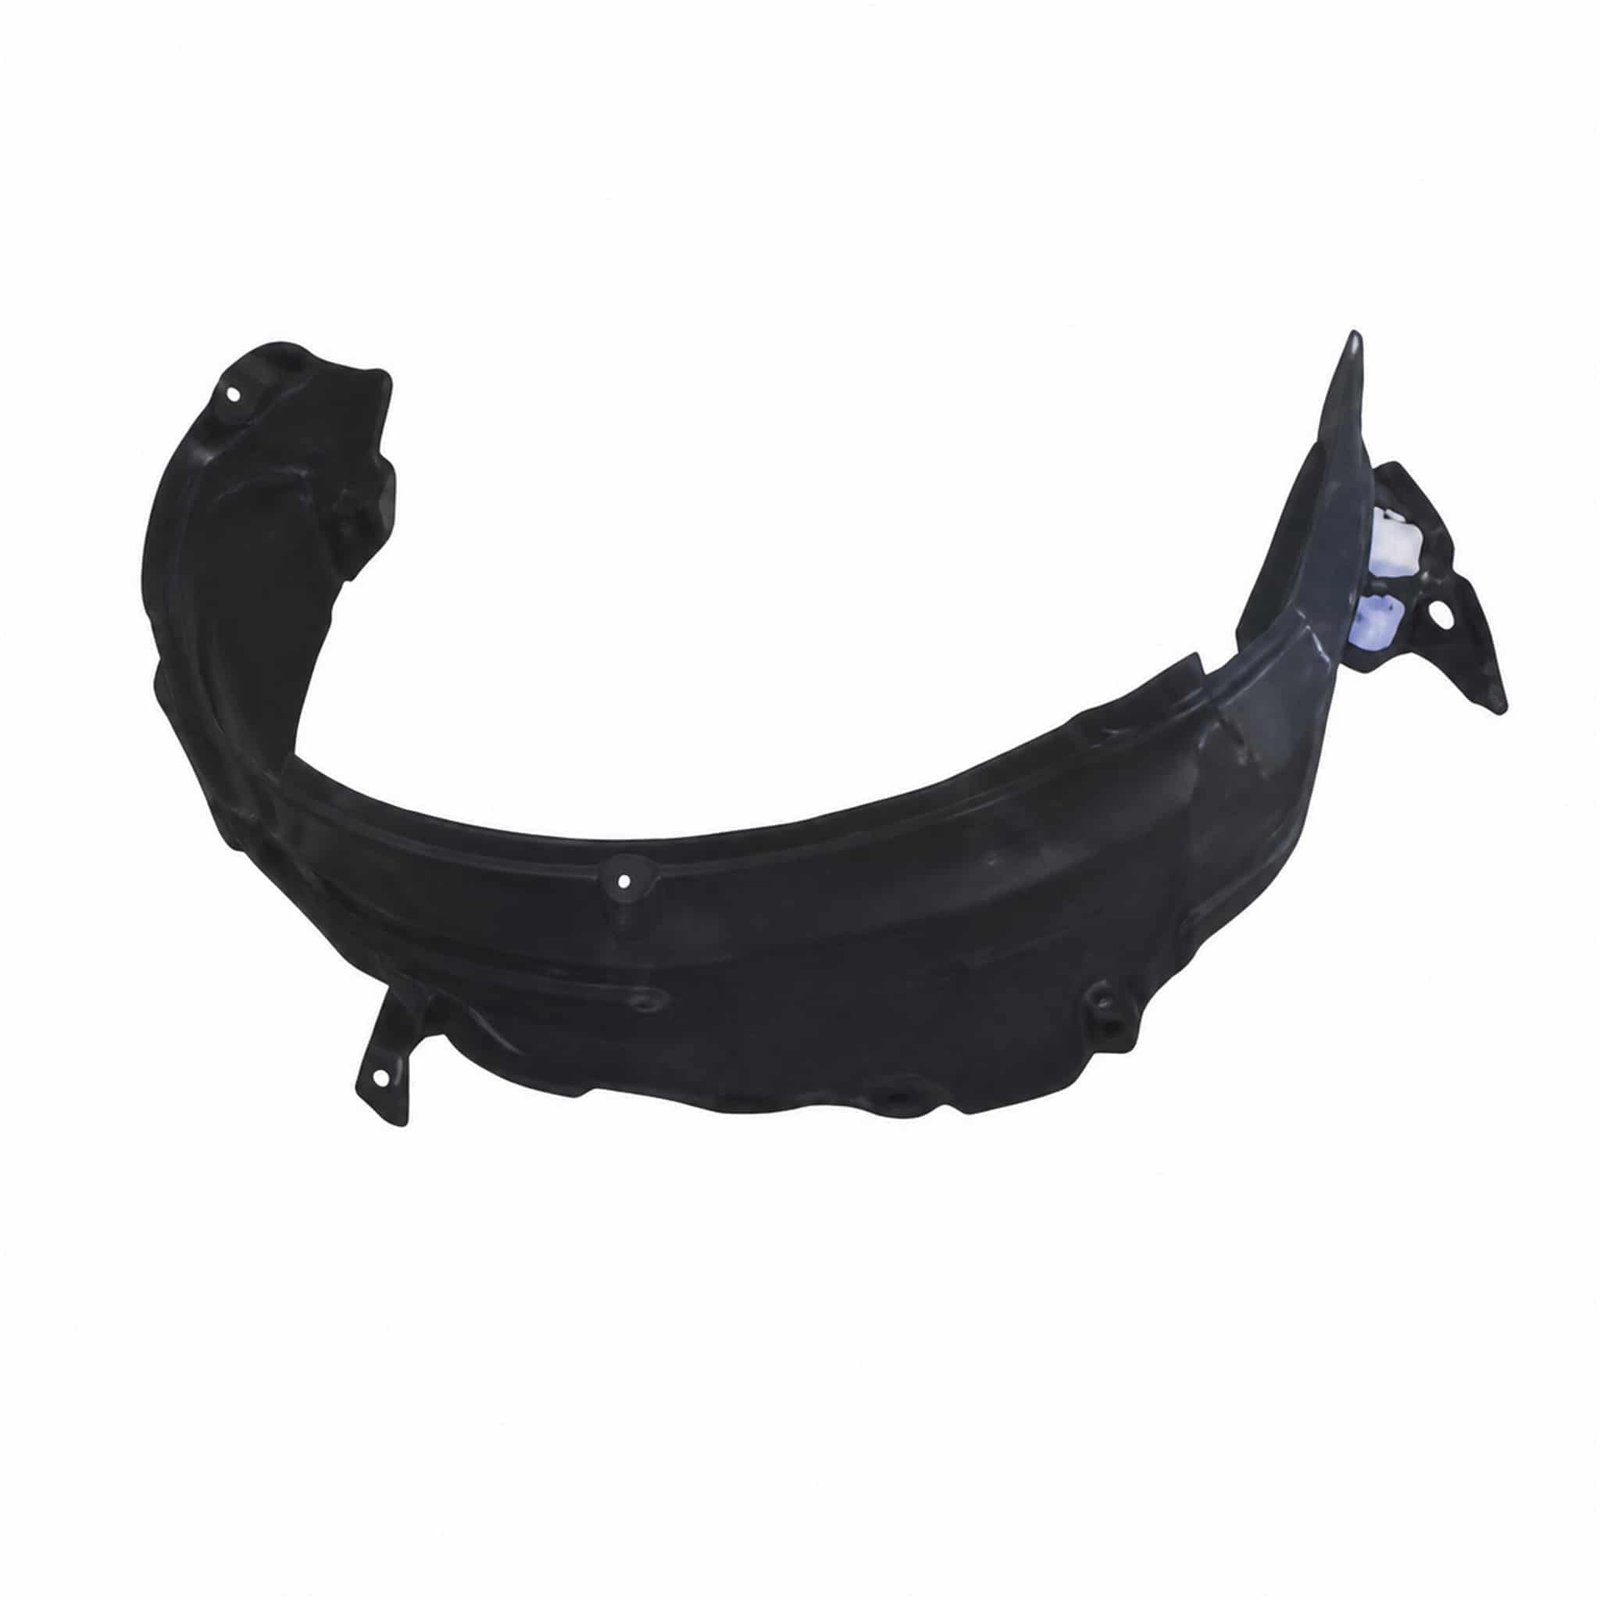
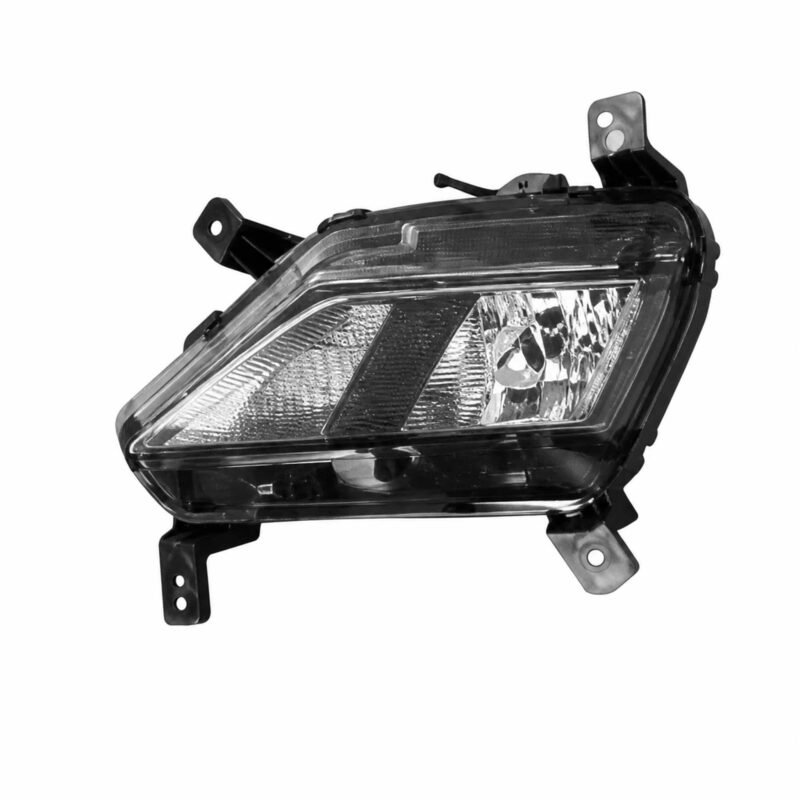
Inner Fender Front for Hyundai I20 ’12 / I20 ’16: This page brings the main vehicle, component and comparison details into one sourcing reference. The component belongs to the body inspection group.
Product Specifications
| Product name |
Inner Fender Front |
| OEM replacement references |
86811-1J500 / 86812-1J500 |
| Vehicle model |
Hyundai I20 ’12 / I20 ’16 |
| Component area |
Body |
| Primary comparison |
opening and hole pattern |
| Secondary comparison |
panel contour |
| Fitment confirmation |
the parts coordinator should review bolt and clip locations before the commercial request is submitted |
Application Review
This inner fender front is associated with Hyundai I20 ’12 / I20 ’16. The OEM entry 86811-1J500 / 86812-1J500 supplies a searchable identifier and should agree with the original marking. Use the vehicle record and the removed component together; market specification or previous repairs may change the required version.
Installation Planning
- Opening and hole pattern
- Left or right orientation
- Panel contour
- Bolt and clip locations
- Wheel-arch or lamp clearance
The parts coordinator should review opening and hole pattern, confirm left or right orientation, and capture wheel-arch or lamp clearance before the commercial request is submitted. This route applies to the inner fender front shown for Hyundai I20 ’12 / I20 ’16.
If images accompany the enquiry, include a rear mounting view, a vehicle-side photograph, and a fastener detail. Label the evidence with the product reference shown in the specification table so the workshop and purchasing team review one configuration.
The parts coordinator can begin with rear mounting view to review opening and hole pattern. A second image should show panel contour from vehicle-side photograph. Before the commercial request is submitted, confirm wheel-arch or lamp clearance and note any difference from the removed component. Keep these observations with the Hyundai I20 ’12 / I20 ’16 vehicle record.
A vehicle inspector should assess bolt and clip locations from a connector close-up, then review bolt and clip locations before the fitment decision is signed off. The repair planner should cross-check left or right orientation from a fixing-point close-up, then inspect left or right orientation before the packing plan is prepared. The repair planner should note panel contour from a removed-part overview, then record wheel-arch or lamp clearance before the purchase order is issued. A vehicle inspector should align opening and hole pattern from a side-profile photograph, then trace opening and hole pattern before the repair schedule is finalized.
Commercial Request Details
Photograph the original arrangement before removal when several brackets or connectors are involved. No packing entry is published here; request current carton and quantity information with the quotation.
Identification Summary
Quotation review is faster when quantity, shipping destination and original-part images arrive together. Ask the supplier to review availability, packing and delivery terms against the identified component rather than a generic model description.
Purchase Questions
What model is associated with this replacement part?
Application information points to Hyundai I20 ’12 / I20 ’16. A workshop should still compare the removed item and mounting location before ordering.
How can an incorrect order be avoided?
Use the old component to check opening and hole pattern and panel contour. Also state the installation side or position in the enquiry.
What should a distributor send for a quotation?
Quotation review is faster when quantity, shipping destination and original-part images arrive together. State the required side or installation position where that detail applies.