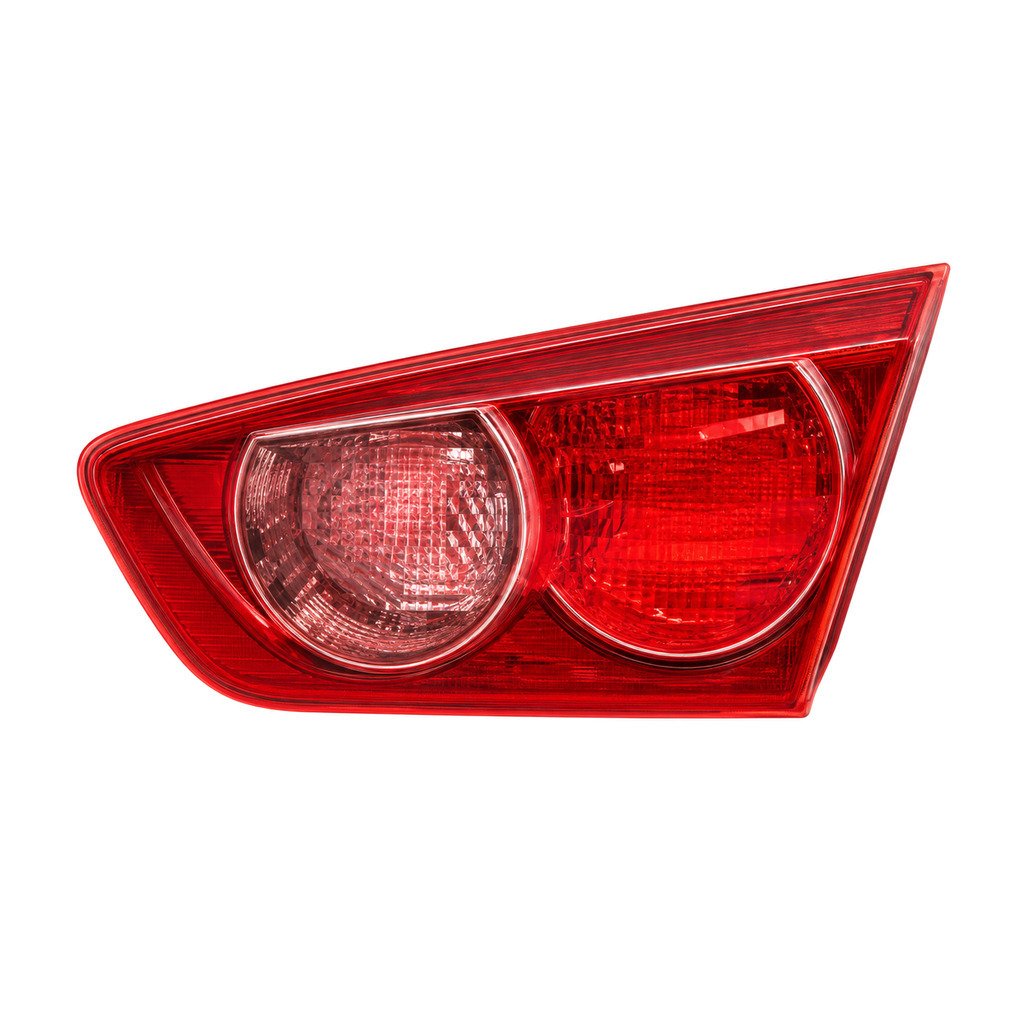
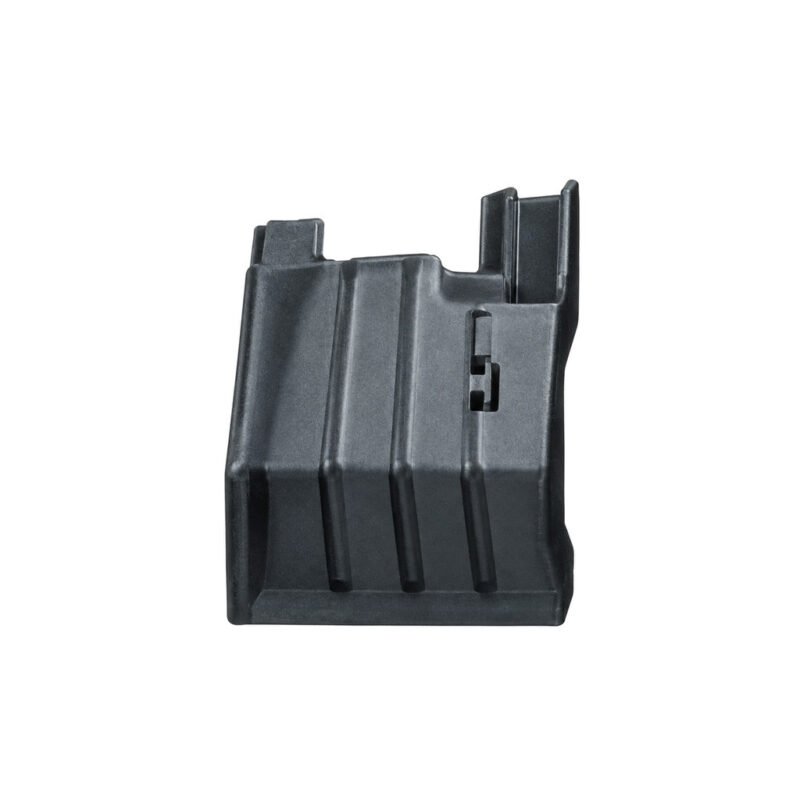
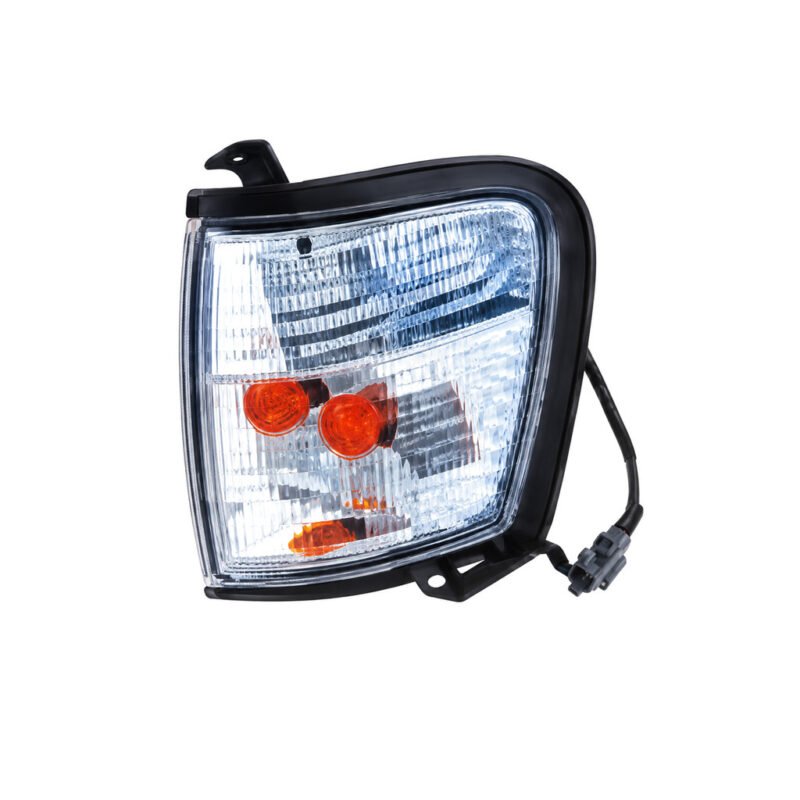
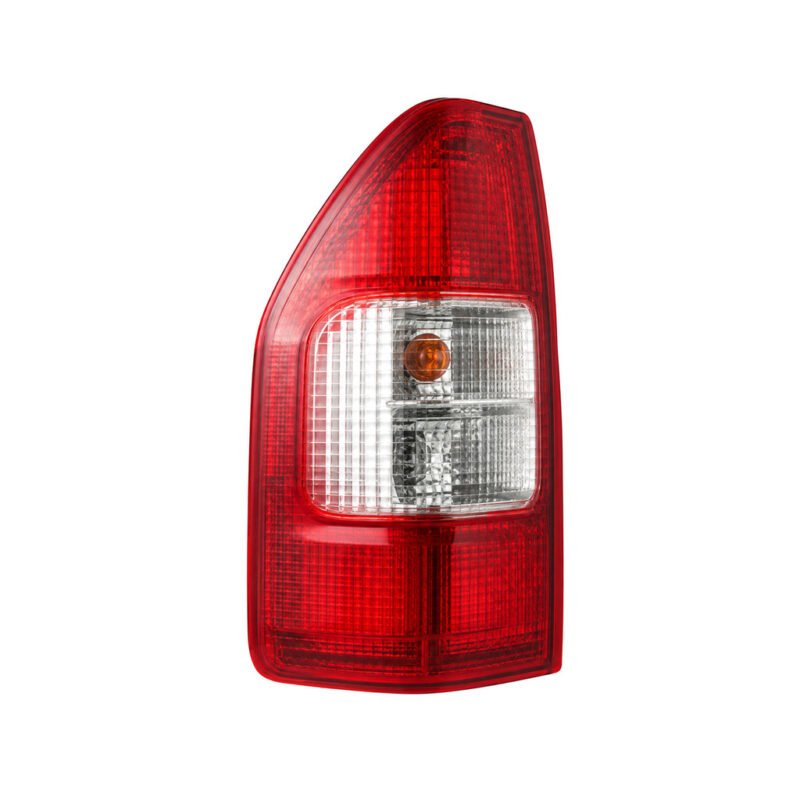
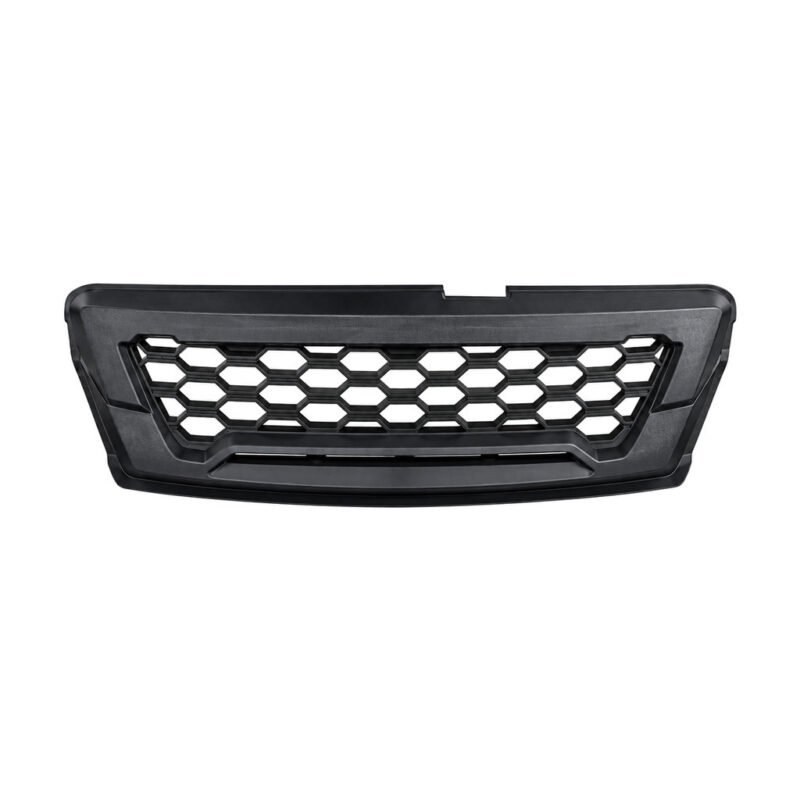
This page records the pictured tail light assembly under MITSUBISHI Canter '05 / LANCER'09. Use source data, original-part evidence and a trial fit in sequence.
Replacement Item Comparison
Use close-up images for bracket profile and locating holes. A wider vehicle-side view should show panel alignment and surrounding clearance.
OE Reference Policy
The MITSUBISHI inventory sheet leaves the OE field empty. Store an empty metadata value and show Available on Request. Do not derive a number from a title, filename, model year or neighboring row.
Comparison Checklist
- Measure the surrounding gap after loose placement.
- Keep the original part until locating holes is verified.
- Complete version sign-off before calculating freight.
- Verify access around adjacent replacement items.
- Photograph locating holes so the complete interface remains visible.
- Confirm panel alignment at the vehicle opening.
Arrival Quality Review
Keep the carton until the received tail light assembly matches the selected configuration. Photograph panel alignment for the receiving record.
Selection Workflow
Separate identification from installation and purchasing. Confirm locating holes for identity, conduct a non-destructive fit review, then request final supply terms.
Shipment Preparation
The MITSUBISHI inventory sheet packing cell is empty. Current carton data must come from the supplier response.
Workshop Verification
Check the tail light assembly at its installed position with minimal locator engagement. Review bracket profile and panel alignment together.
Product Record
This Vehicle Lighting-group listing identifies a Tail Light Assembly for MITSUBISHI Canter '05 / LANCER'09. Keep that full application on the technical request.
Technical Evidence File
Keep the supporting material with the enquiry: a written quantity and destination for the commercial reply; an arrival photograph before protective packing is removed; a dry-fit view made without bending or drilling the replacement item; an edge-profile photograph showing nearby panel clearance; a straight-on comparison using the same camera angle.
Application File Check
Attach images of bracket profile and locating holes to the MITSUBISHI Canter '05 / LANCER'09 vehicle record for this tail light assembly. Release the enquiry only when panel alignment agrees with the removed part.
Vehicle Record Check
Check that the vehicle matches MITSUBISHI Canter '05 / LANCER'09, then review the surrounding panels and mounting interface.
Ordering Information
Request availability with the complete model designation and clear replacement item images. Ask for updated packing details after technical sign-off.
Frequently Asked Questions
When should packing be confirmed?
Confirm the pictured version first, then request current carton details for the required quantity.
How should a trial fit be performed?
Use light locator engagement only; never force the tail light assembly into a conflicting opening.
What if the vehicle evidence and image disagree?
Pause the order and request clearer technical evidence before any commercial commitment.