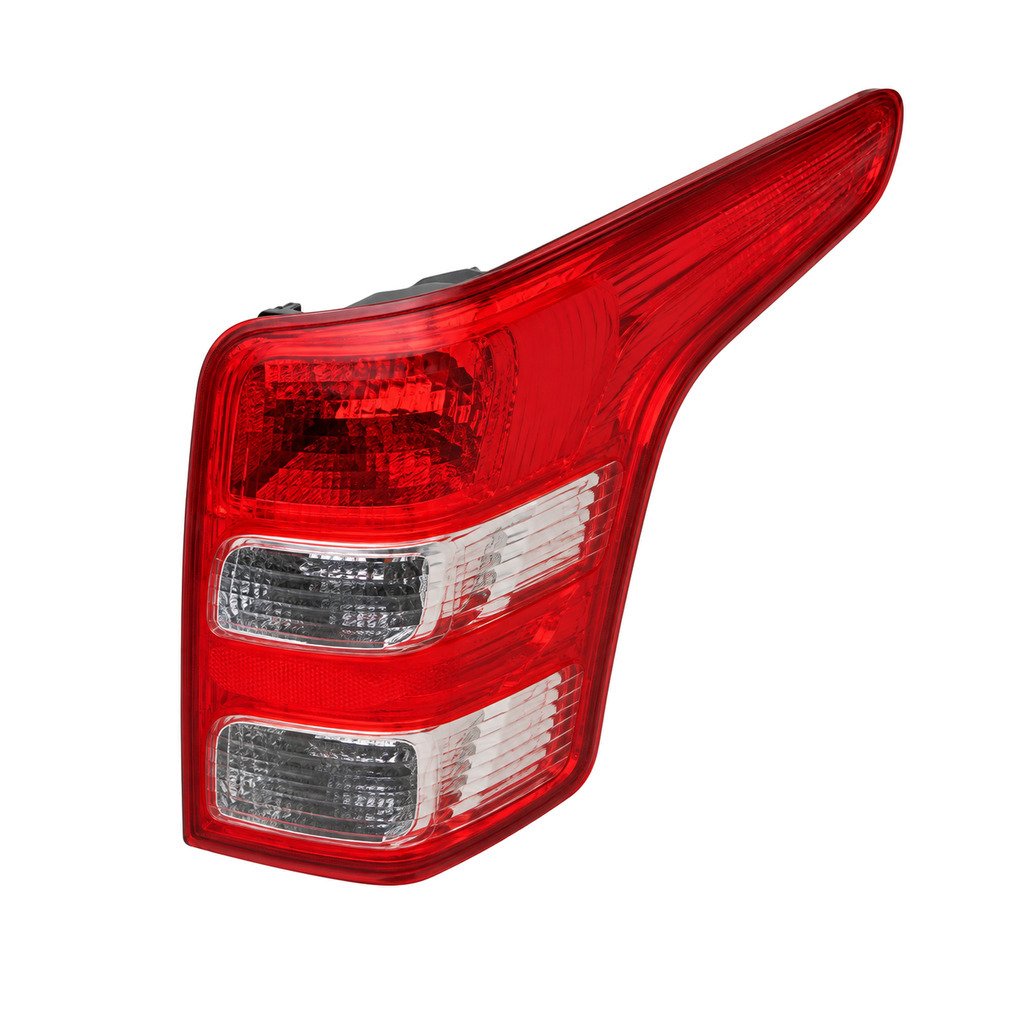
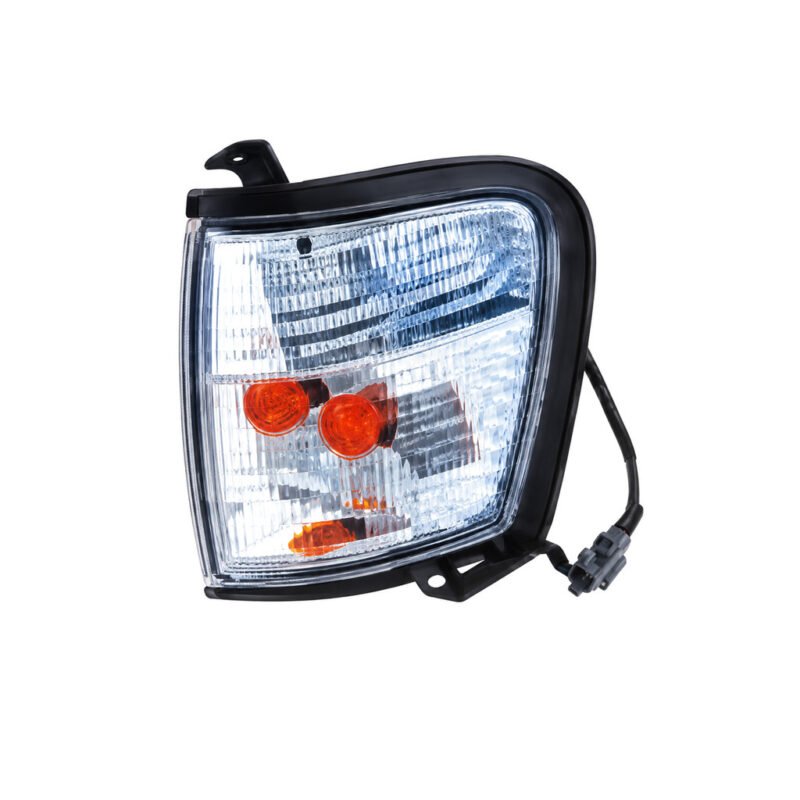
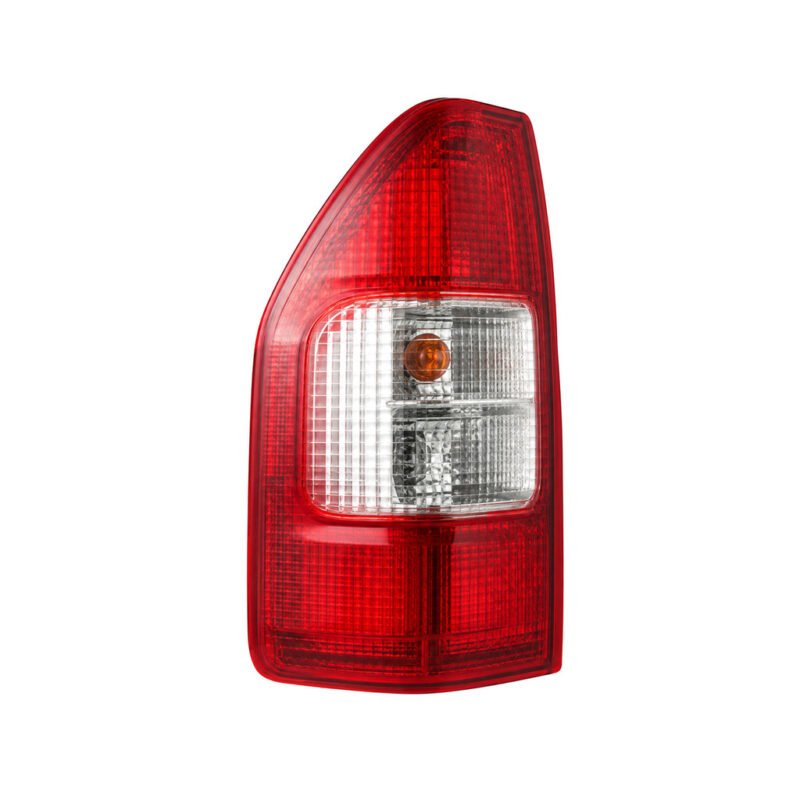
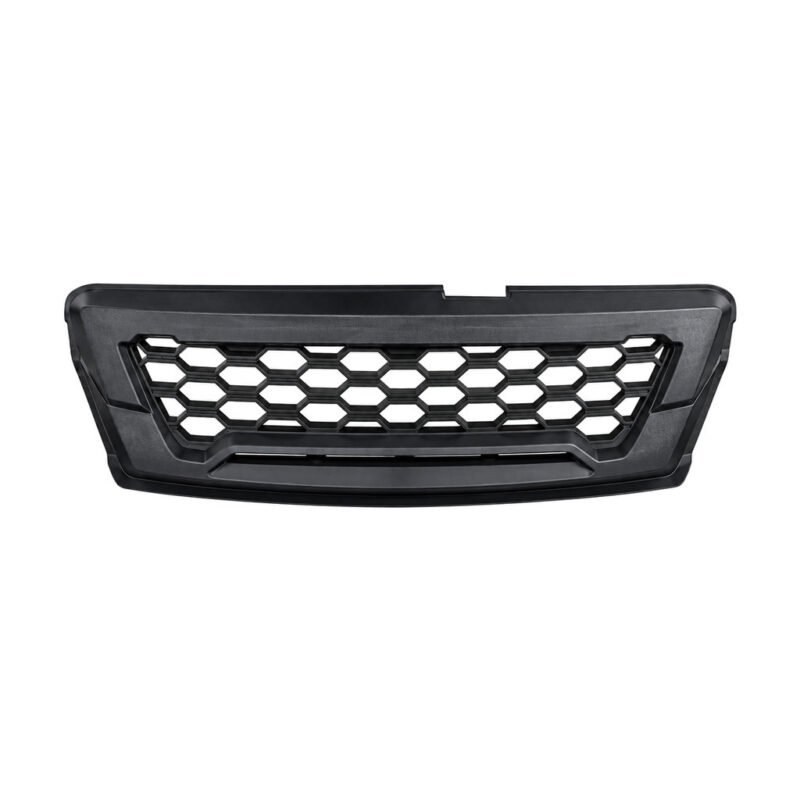
This MITSUBISHI L200 '09 / L200 '15 / L200 '18 / Canter '05 entry presents a tail light assembly for B2B sourcing. Verify the photographed configuration at the vehicle opening. This is a separate photographed source entry, so do not substitute it solely because another page shares similar written data.
Reference Number Review
The MITSUBISHI inventory sheet leaves the OE field empty. Store an empty metadata value and show Available on Request. Do not derive a number from a title, filename, model year or neighboring row.
Packing Reference
The preliminary carton entry reads 89*47*66CM/10PCS. Verify that it still applies before freight is calculated.
Purchase Enquiry Notes
A quotation request should identify MITSUBISHI L200 '09 / L200 '15 / L200 '18 / Canter '05, order volume and receiving market. Revalidate 89*47*66CM/10PCS after the final quantity is known.
Buyer Checklist
- Keep the OE field blank; do not invent a number.
- Inspect visible edges and surface condition.
- Check guides and clips for shipping damage.
- Document the required installation side when applicable.
- Retain the vehicle identification photograph with the order.
- Use fixing-point close-ups to support selection.
Vehicle Confirmation
Verify MITSUBISHI L200 '09 / L200 '15 / L200 '18 / Canter '05 from the vehicle record before comparing the pictured part with the existing installation.
Installation Preparation
Do not reshape the replacement during comparison. A correct version should preserve housing depth and the surrounding gap.
Arrival Quality Review
Support the replacement item evenly at the receiving bench. Confirm connector interface, surface condition and the approved configuration.
Source Item Summary
The pictured item is described as Tail Light Assembly. The corresponding MITSUBISHI inventory sheet vehicle text reads MITSUBISHI L200 '09 / L200 '15 / L200 '18 / Canter '05.
Version Evidence
Keep the supporting material with the enquiry: the supplier's current carton and pieces-per-carton confirmation; a ruler reference beside any uncertain mounting distance; the full MITSUBISHI L200 '09 / L200 '15 / L200 '18 / Canter '05 designation from the vehicle record; an installation-side note when left and right versions exist; a vehicle-opening image that records surrounding clearance.
Vehicle Identification Evidence
Attach images of connector interface and housing depth to the MITSUBISHI L200 '09 / L200 '15 / L200 '18 / Canter '05 vehicle record for this tail light assembly. Release the enquiry only when surrounding clearance agrees with the removed part.
Replacement Item Comparison
Use close-up images for connector interface and housing depth. A wider vehicle-side view should show surrounding clearance and surrounding clearance.
Sign-Off Path
A reliable selection combines written source data with front, rear and installed views. Record the result before the item moves to commercial sign-off.
Frequently Asked Questions
How are similar-looking versions separated?
Use the reverse construction and mounting evidence, giving particular attention to connector interface.
What should be checked when the shipment arrives?
Compare the delivered item with approved images, inspect surrounding clearance and retain packaging until acceptance.
What physical details need comparison?
Review connector interface, housing depth and surrounding clearance against the removed replacement item before sign-off.