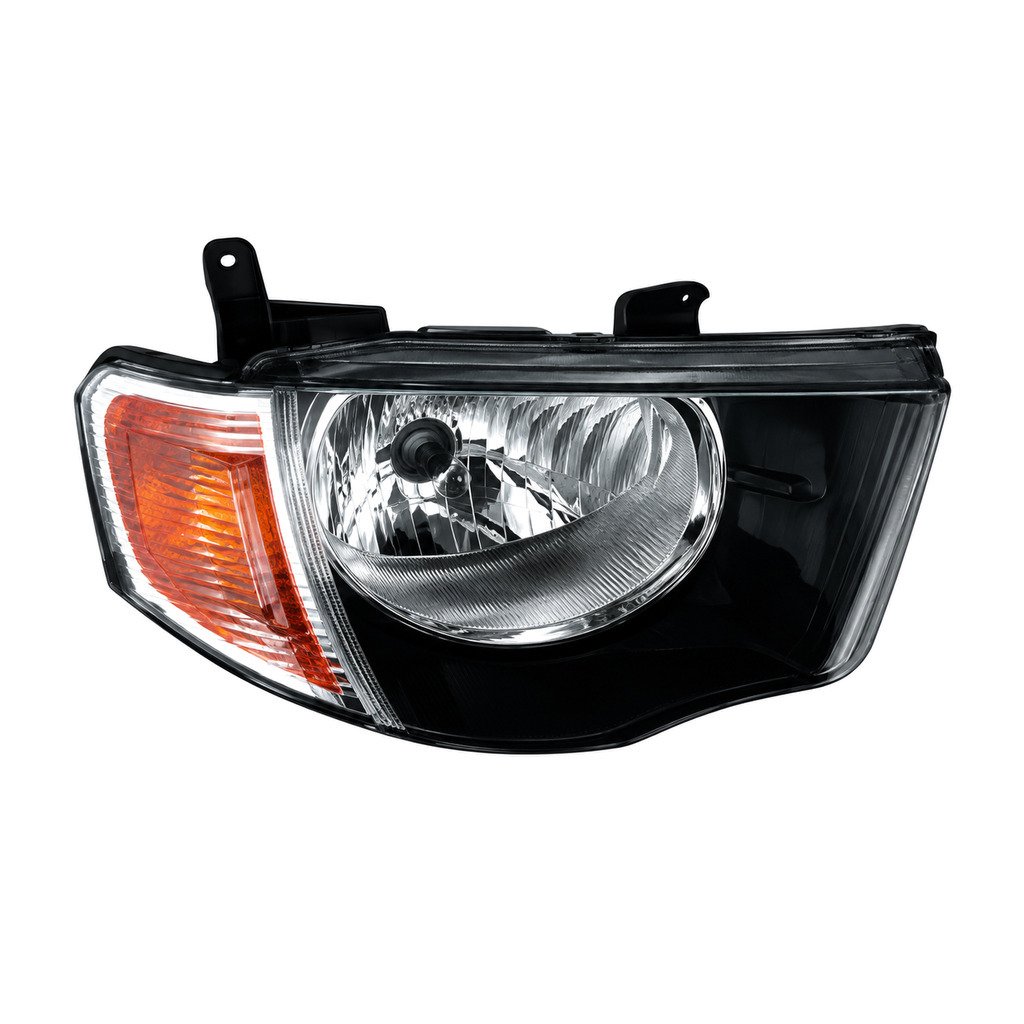
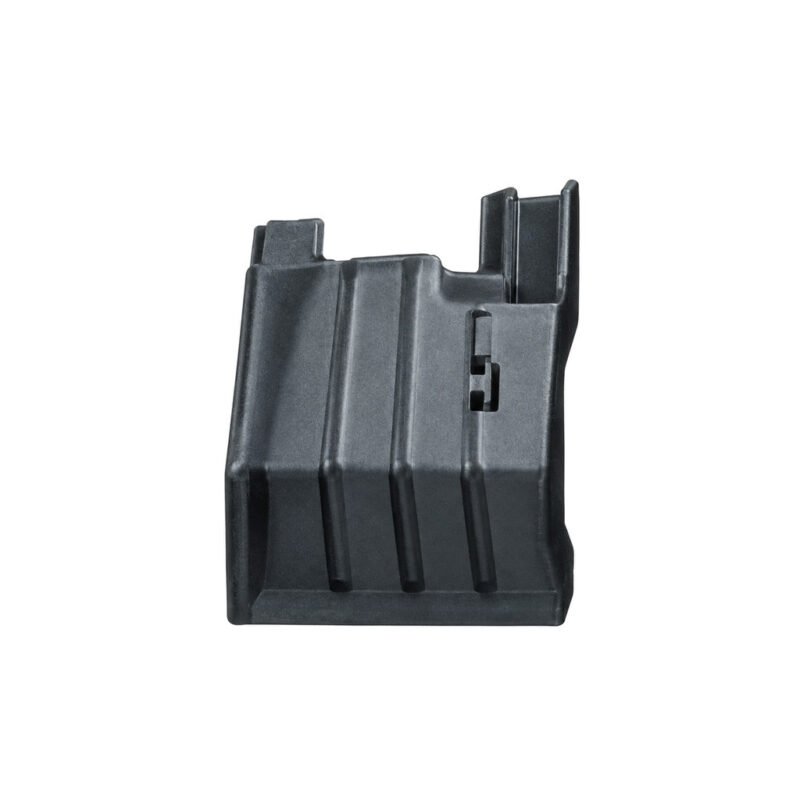
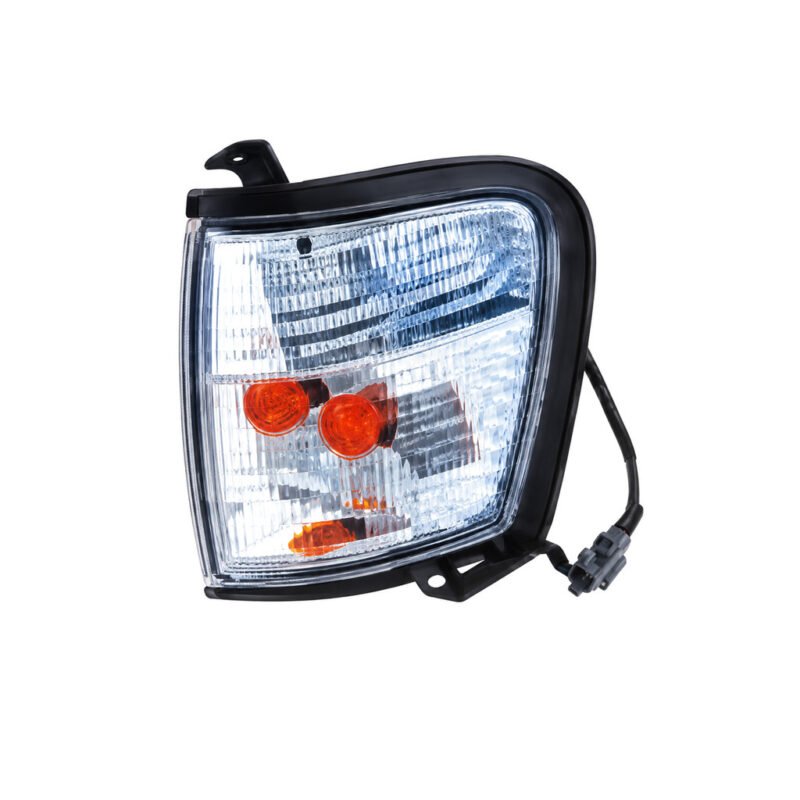
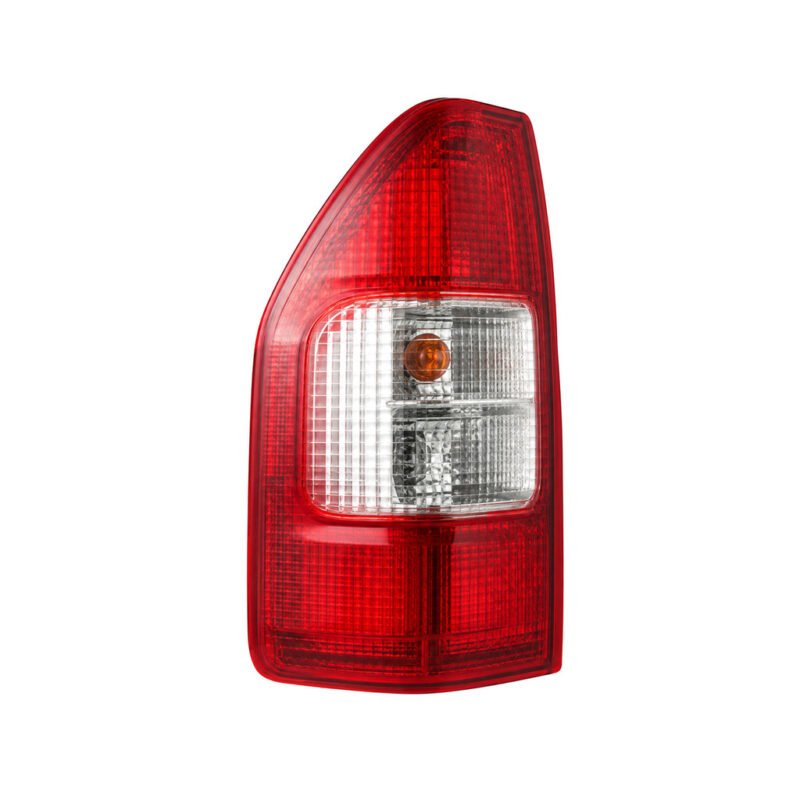
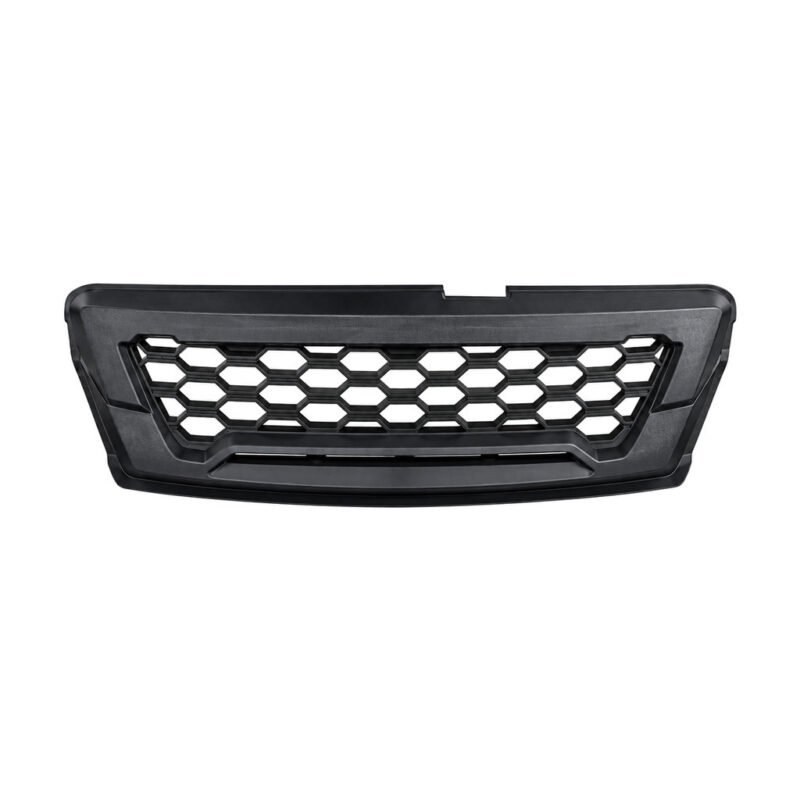
The catalog image identifies a yellow headlight assembly for MITSUBISHI L200 '09 / L200 '15 / L200 '18 / Canter '05. Vehicle production information and physical details should agree.
Product Identification
Source classification places this Yellow Headlight Assembly in the Vehicle Lighting family for MITSUBISHI L200 '09 / L200 '15 / L200 '18 / Canter '05. Use the complete designation when comparing versions.
OE Reference Policy
The MITSUBISHI inventory sheet leaves the OE field empty. Store an empty metadata value and show Available on Request. Do not derive a number from a title, filename, model year or neighboring row.
Packing Reference
The MITSUBISHI inventory sheet packing cell is empty. Current carton data must come from the supplier response.
Sign-Off Path
Use the same evidence set for technical review, quotation and receiving inspection so the approved yellow headlight assembly can be traced through the order.
Arrival Quality Review
Review the delivered item from front and rear directions. Hold it from workshop use if fixing bosses differs from the sign-off evidence.
Vehicle Confirmation
Photograph the MITSUBISHI L200 '09 / L200 '15 / L200 '18 / Canter '05 mounting location before disassembly. Keep that image with the vehicle identification record.
Selection Checklist
- Keep the OE field blank; do not invent a number.
- Compare fixing bosses with the removed MITSUBISHI L200 '09 / L200 '15 / L200 '18 / Canter '05 replacement item.
- Request another image if body aperture is not visible.
- Use fixing-point close-ups to support selection.
- Check that fixing bosses aligns naturally before tightening.
- Verify access around adjacent replacement items.
Replacement Item Comparison
Use close-up images for fixing bosses and clip direction. A wider vehicle-side view should show body aperture and surrounding clearance.
Sign-Off Documents
Keep the supporting material with the enquiry: a workshop note describing why the selected version was accepted; a ruler reference beside any uncertain mounting distance; an arrival photograph before protective packing is removed; a record of any connector, guide or bracket difference; the final approved image set attached to the purchase request.
Trial-Fit Procedure
Keep the original part available during workshop preparation. Use it to confirm fixing bosses, clip direction and required orientation.
Vehicle Identification Evidence
Attach images of fixing bosses and clip direction to the MITSUBISHI L200 '09 / L200 '15 / L200 '18 / Canter '05 vehicle record for this yellow headlight assembly. Release the enquiry only when body aperture agrees with the removed part.
Purchase Enquiry Notes
Provide comparison reference images, required units and delivery country after technical sign-off. No packing reference is available in the MITSUBISHI inventory sheet.
Ordering FAQ
What if the vehicle evidence and image disagree?
Pause the order and request clearer technical evidence before any commercial commitment.
What should be checked when the shipment arrives?
Compare the delivered item with approved images, inspect body aperture and retain packaging until acceptance.
How are similar-looking versions separated?
Use the reverse construction and mounting evidence, giving particular attention to fixing bosses.