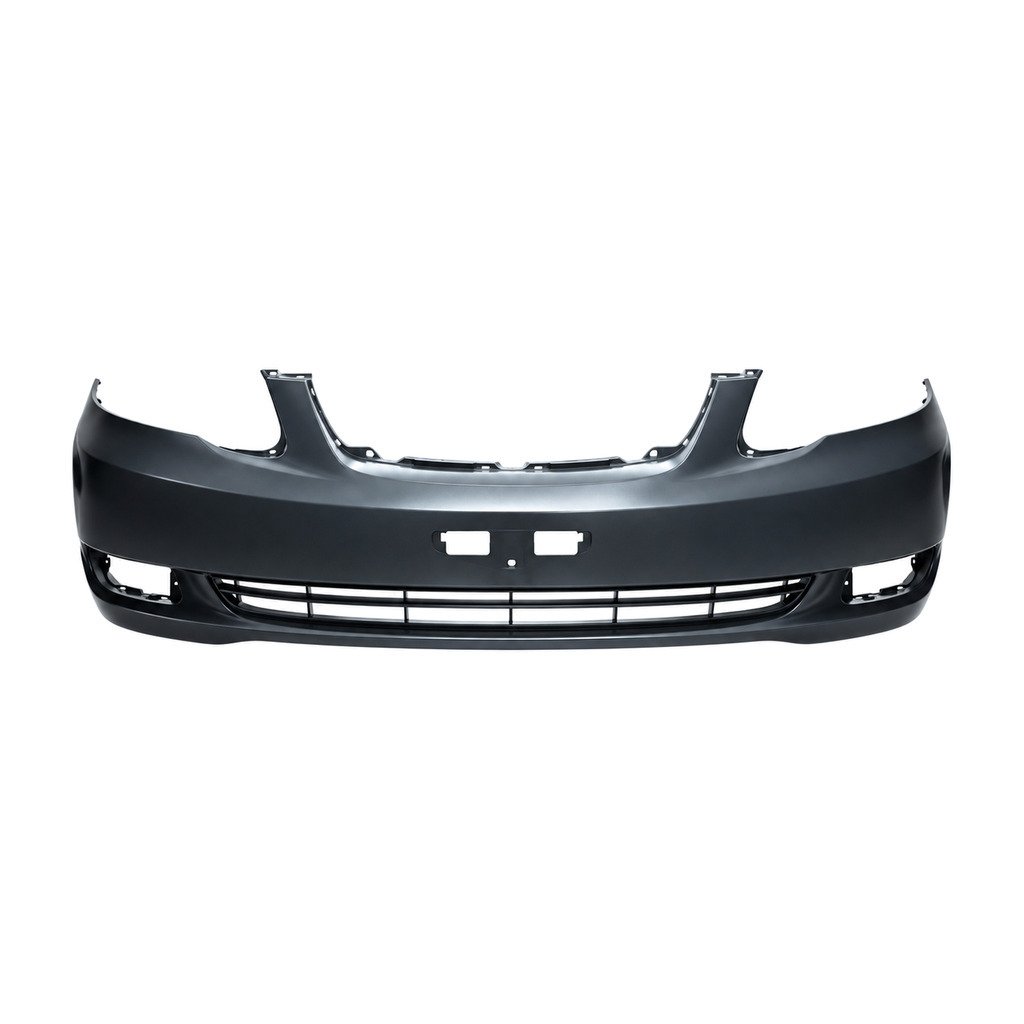
This page records the pictured front bumper under TOYOTA Corolla '03-'06 / Corolla '08. Use source data, original-part evidence and a trial fit in sequence.
Vehicle Confirmation
Keep the TOYOTA Corolla '03-'06 / Corolla '08 model evidence beside the technical images so the required configuration remains clear.
Workshop Fit Check
Complete a dry fit at the correct vehicle location. Verify guide slots, adjacent clearance and final alignment.
Decision Process
If attachment points, guide slots or adjacent-panel gap remains uncertain, request more evidence. Availability alone is not a reason to accept an unverified version.
Ordering Information
Confirm the pictured version before stock reservation or freight calculation. Recheck the source carton entry 190*95*50CM/5PCS before shipment.
Selection Checklist
- Confirm adjacent-panel gap at the vehicle opening.
- Measure the surrounding gap after loose placement.
- Do not force the front bumper into a mismatched opening.
- Keep the OE field blank; do not invent a number.
- Inspect visible edges and surface condition.
- Photograph guide slots so the complete interface remains visible.
Component and Application
This B2B entry covers Front Bumper under the TOYOTA Corolla '03-'06 / Corolla '08 application. Physical evidence must confirm the written classification.
Packing Reference
Reference 190*95*50CM/5PCS when asking for updated packing details, then use the supplier's current reply for freight planning.
Physical Identification
Use close-up images for attachment points and guide slots. A wider vehicle-side view should show adjacent-panel gap and surrounding clearance.
Receiving Check
During goods-in inspection, check the complete outline and guide slots. Retain labels while any version question is unresolved.
Evidence to Retain
Keep the supporting material with the enquiry: an installation-side note when left and right versions exist; an edge-profile photograph showing nearby panel clearance; a complete image of the front bumper beside the removed component; an arrival photograph before protective packing is removed; a straight-on comparison using the same camera angle.
Source OE Evidence
The worksheet leaves the OE field empty. Store an empty metadata value and show Available on Request. Do not derive a number from a title, filename, model year or neighboring row.
Buyer Questions
Which photographs help identify the version?
Provide a complete component view, its reverse side, the installed location and a close image of attachment points.
How should the source OE field be used?
Keep OE metadata empty and display Available on Request because the source OE cell is blank.
How are similar-looking versions separated?
Use the reverse construction and mounting evidence, giving particular attention to attachment points.