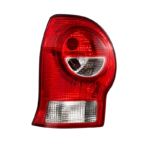
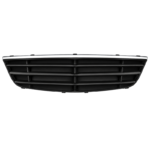
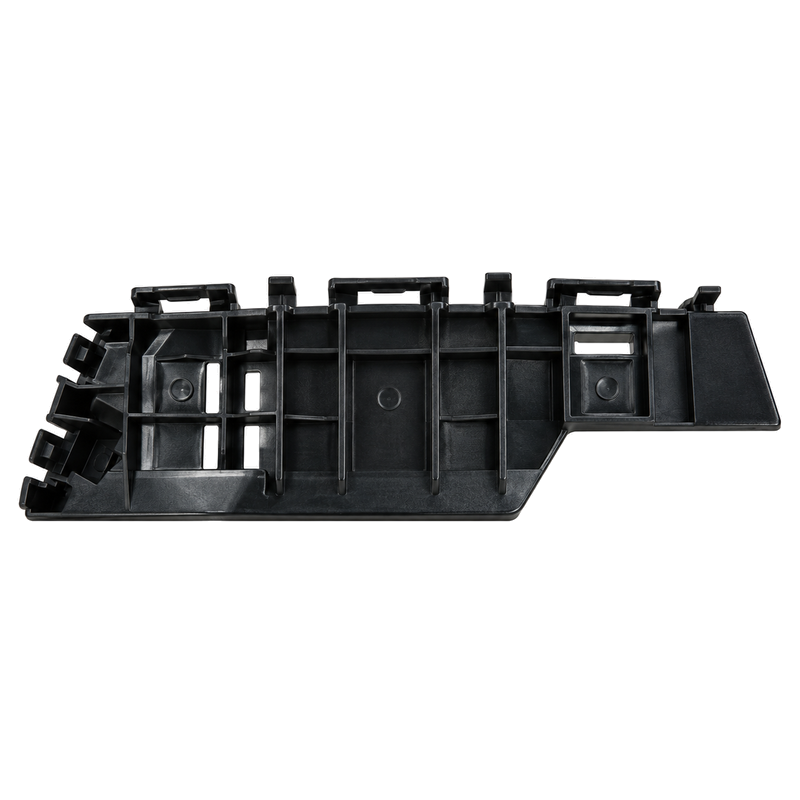
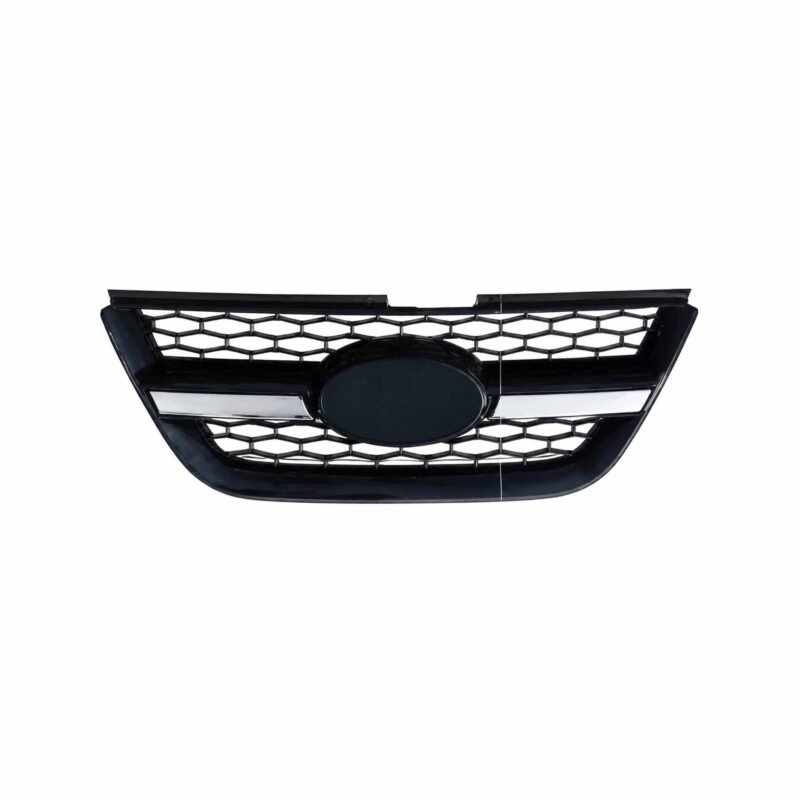
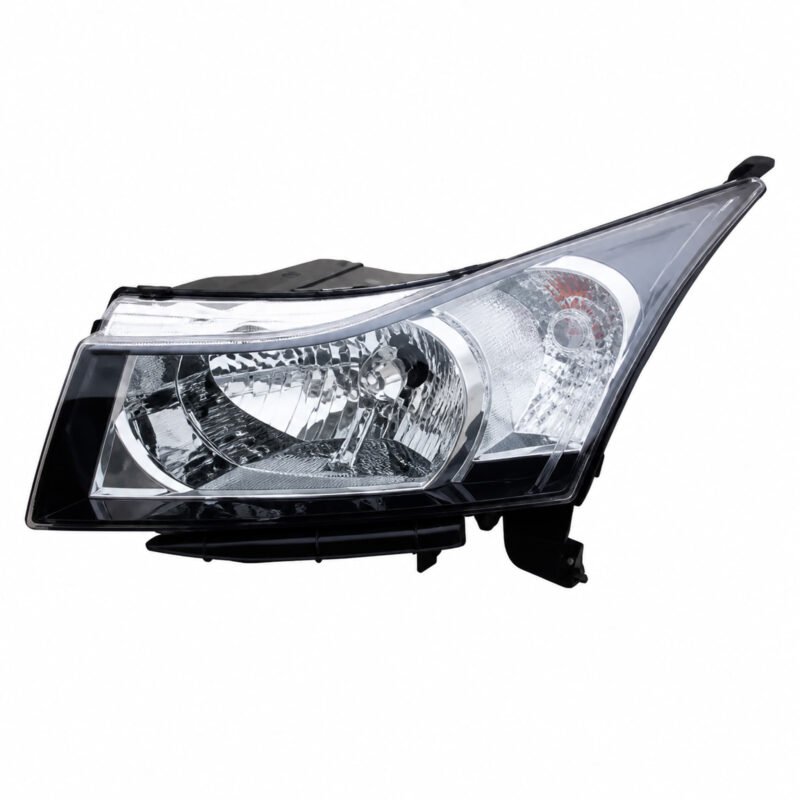
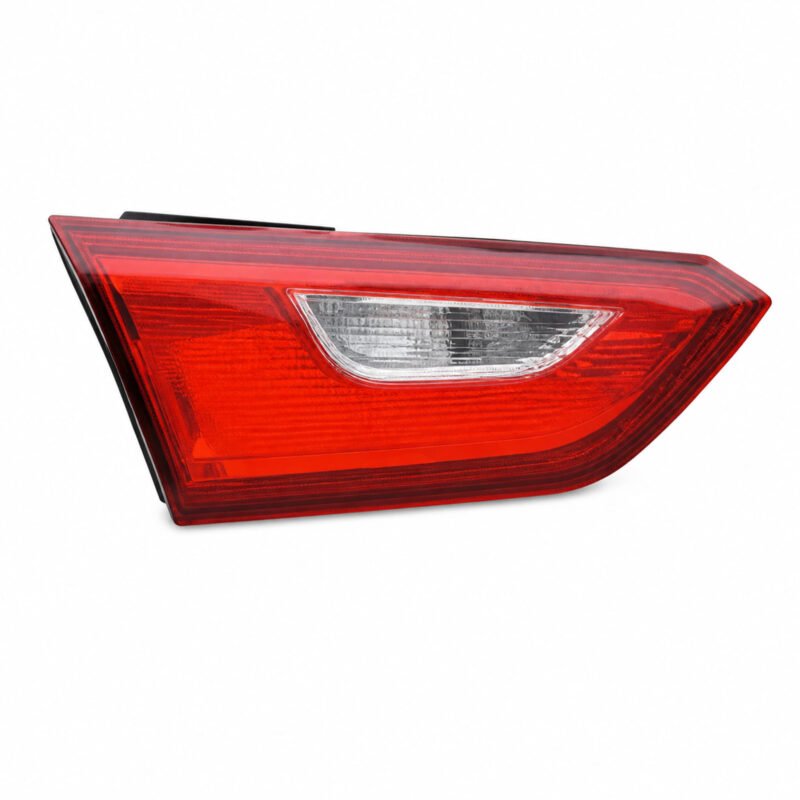
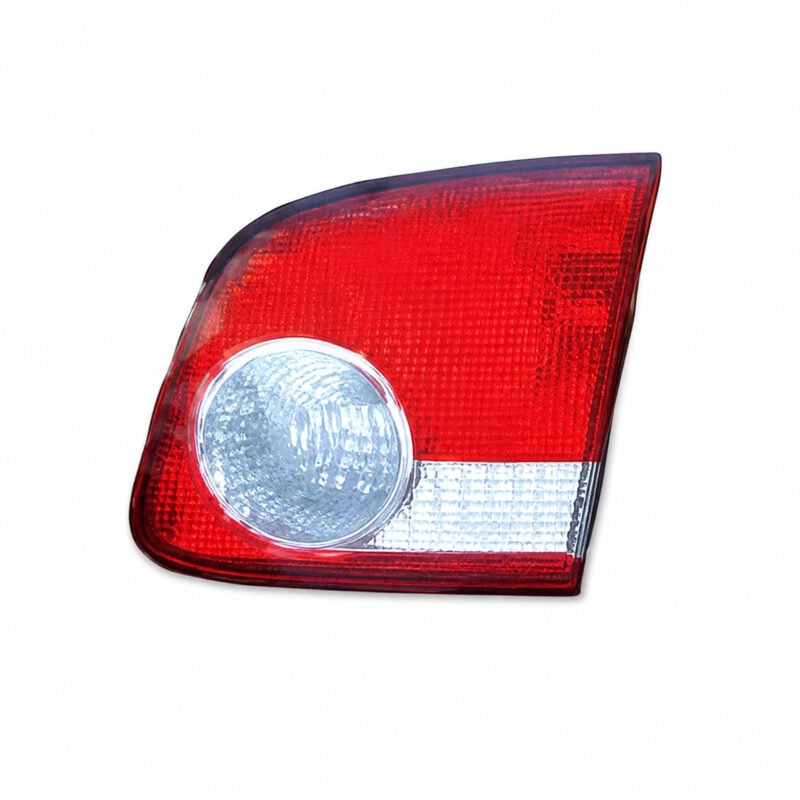
For SUZUKI Alto '09 / Alto '10 / Alto 800, this page presents a rear bumper bracket for replacement-parts sourcing. Confirm the visible design prior to placing an order.
SUZUKI Product Data
| Component |
Rear Bumper Bracket |
| OEM replacement reference |
Not confirmed in source data |
| Automobile designation |
SUZUKI Alto '09 / Alto '10 / Alto 800 |
| Inspection family |
Bumper and Trim |
| Variant checkpoint |
electrical connector |
| Automobile-side checkpoint |
housing depth |
| Supply format |
B2B replacement-parts enquiry |
Vehicle Vehicle designation Verify
No verified OEM reference is shown, so begin with electrical connector and the vehicle-side item.
Market and production differences can exist within SUZUKI Alto '09 / Alto '10 / Alto 800, so include car identification evidence.
Visible Construction Check
Use housing depth to separate versions that may appear similar in a front-view image. Review electrical connector against the removed assembly. Compare terminal layout and the rear bumper bracket outer shape for market-variant checking.
- electrical connector
- terminal layout
- housing depth
Fixing and Position Examine
Place the rear bumper bracket loosely in position prior to engaging every fastener. Compare the mounting interface and surrounding gap ahead of final tightening. Request another design when the installation geometry does not agree.
B2B Enquiry Details
Prepare the enquiry with vehicle designation data, side, quantity and delivery country. Send front, rear and fixing-point images for technical confirmation. Ask for current carton dimensions and pieces per carton.
Buyer Comparison Checklist
- Validate the photographed configuration prior to calculating freight.
- Inspect the rear bumper bracket finish and visible edge condition.
- Keep vehicle production information with the Rear Bumper Bracket enquiry.
- Use the Rear Bumper Bracket reference together with a reverse-side image.
- Approve SUZUKI Alto '09 / Alto '10 / Alto 800 only after a physical comparison.
- Compare the rear bumper bracket electrical connector with the removed SUZUKI Alto '09 / Alto '10 / Alto 800 item.
- Photograph terminal layout from a direction showing the complete rear bumper bracket interface.
- Request another view if housing depth is not visible.
Frequently Asked Questions
Which vehicle is associated with this item?
The listed model association is SUZUKI Alto '09 / Alto '10 / Alto 800. Validate it against the vehicle and vehicle-side item.
How should the pictured variant be verified?
Examine electrical connector, terminal layout and housing depth prior to approval.
How should an availability request be prepared?
Supply the model association, reference when available, intended quantity, destination and comparison images.