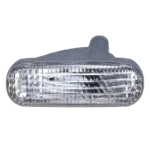
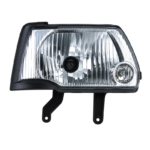
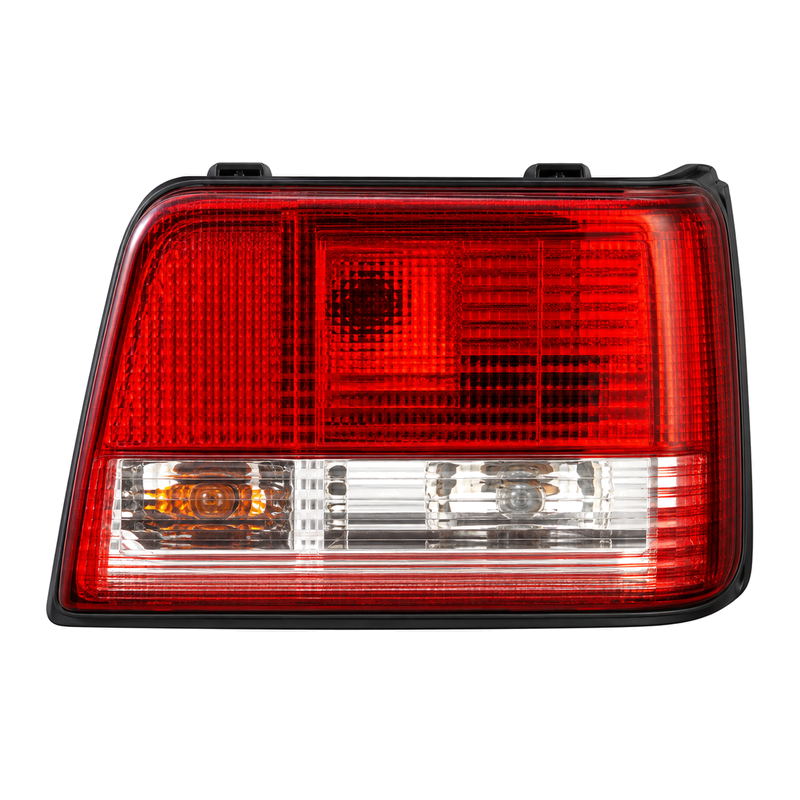
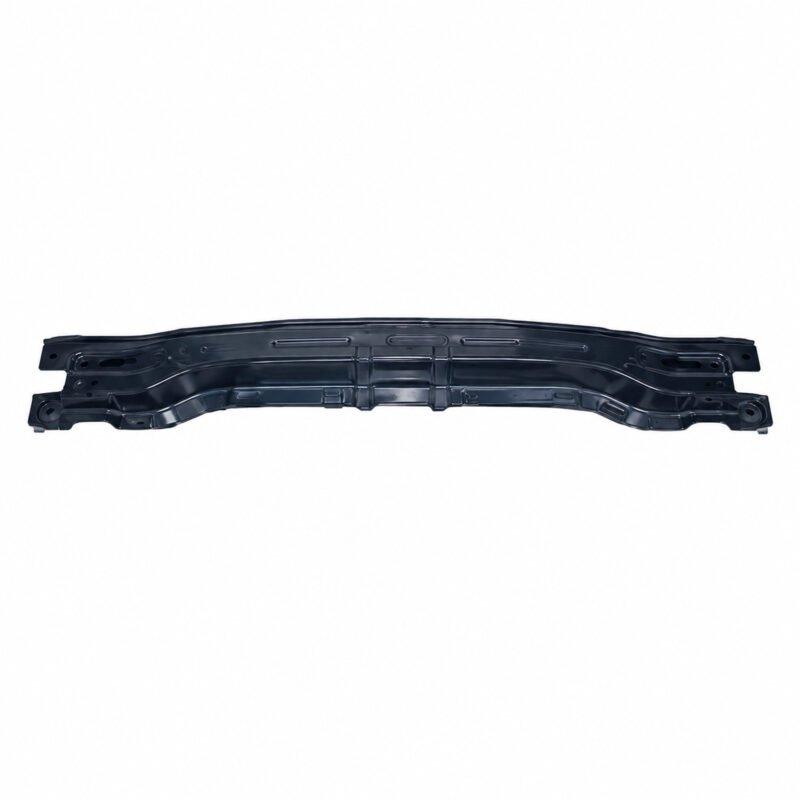
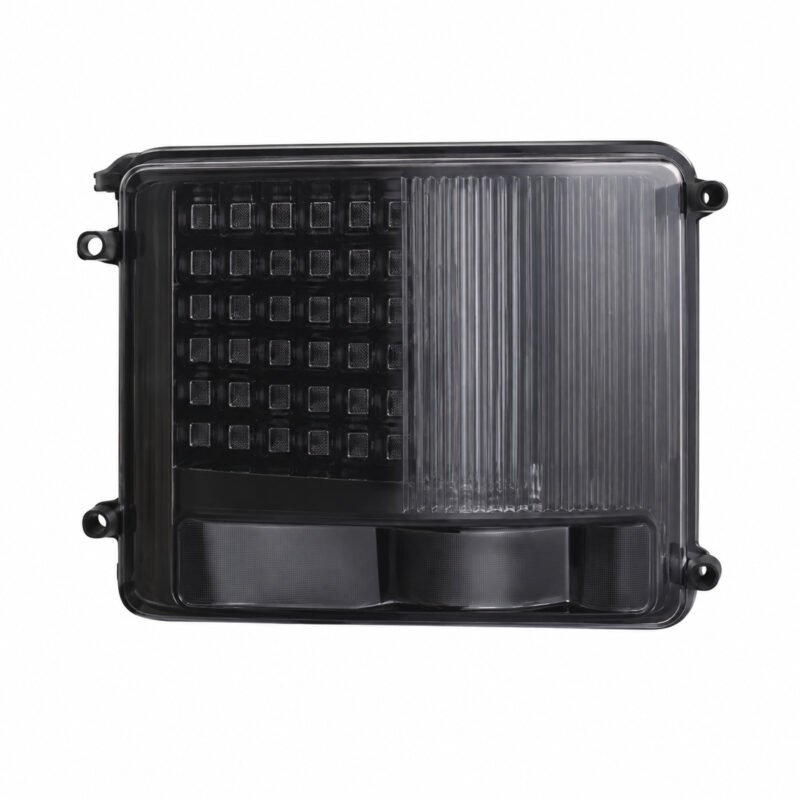
For SUZUKI Vitara '15 / Alto, this page presents a tail light assembly for replacement-parts sourcing. Check the visible variant prior to placing an order.
SUZUKI Product Data
| Assembly |
Tail Light Assembly |
| OEM replacement reference |
Not confirmed in source data |
| Automobile designation |
SUZUKI Vitara '15 / Alto |
| Inspection family |
Lighting |
| Variant checkpoint |
electrical connector |
| Automobile-side checkpoint |
housing depth |
| Supply format |
B2B replacement-parts enquiry |
SUZUKI Fitment Examine
Without a confirmed number, document housing depth and the complete reverse side.
Check that the vehicle is identified as SUZUKI Vitara '15 / Alto and photograph the vehicle-side installation area.
Physical Identification
Measure electrical connector ahead of ordering. Use housing depth to separate versions that may appear similar in a front-view image. Inspect terminal layout and the tail light assembly outer shape for version choice.
- electrical connector
- terminal layout
- housing depth
Attachment and Position Assess
Place the tail light assembly loosely in position ahead of engaging every fastener. Check nearby movement and service access while reviewing terminal layout. Stop if electrical connector differs from the original piece.
Commercial Order Information
Prepare the enquiry with application records, side, quantity and delivery country. Provide front, rear and fixing-point images for technical confirmation. Check export packing after the intended quantity is known.
Buyer Comparison Checklist
- Use fixing-point close-ups to support tail light assembly choice.
- Review the outer contour under similar camera angles.
- Keep car production information with the Tail Light Assembly enquiry.
- Document the needed installation side when it applies.
- Verify connector access and nearby movement for SUZUKI Vitara '15 / Alto.
- Use the Tail Light Assembly reference together with a reverse-side picture.
- Request another view if housing depth is not visible.
- Ask for packing data after approving the tail light assembly.
Frequently Asked Questions
Which model designation should be quoted?
The listed model association is SUZUKI Vitara '15 / Alto. Verify it against the car and existing part.
Which data need a physical comparison?
Compare electrical connector, terminal layout and housing depth prior to selection.
How should an availability request be prepared?
Send the application, reference when available, needed quantity, destination and comparison photographs.